Toy injection molding process turns plastic pellets into finished toy parts through a series of controlled steps.
An injection molding machine melts plastic, pushes the melt into a mold, and then cools it to form the final shape.
It sounds simple, but there is quite a bit going on behind the scenes.
The machine must control plastic temperature, injection speed, pressure, cooling time, and mold movement. At the same time, the mold must guide the plastic into the right shape.
From a machine manufacturer’s point of view, stable toy production comes from getting all these parts to work together.
So, let’s look at how the process works, step by step.
What Is a Toy Injection Molding Machine?
What Does a Toy Injection Molding Machine Do?
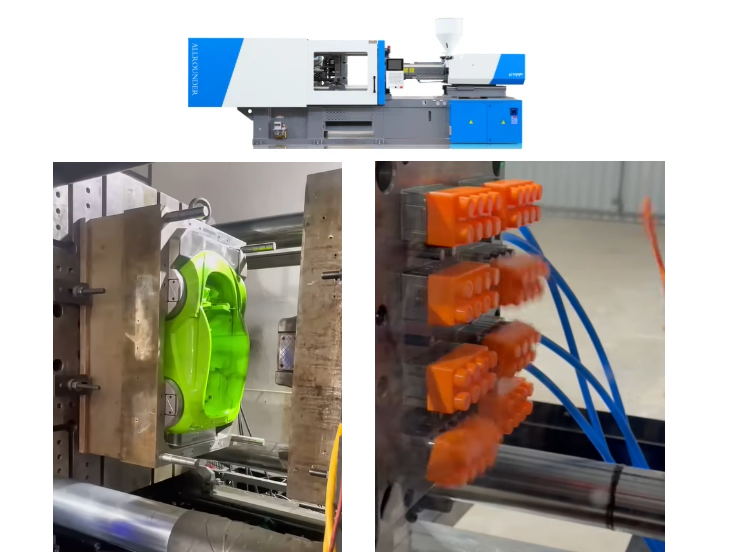
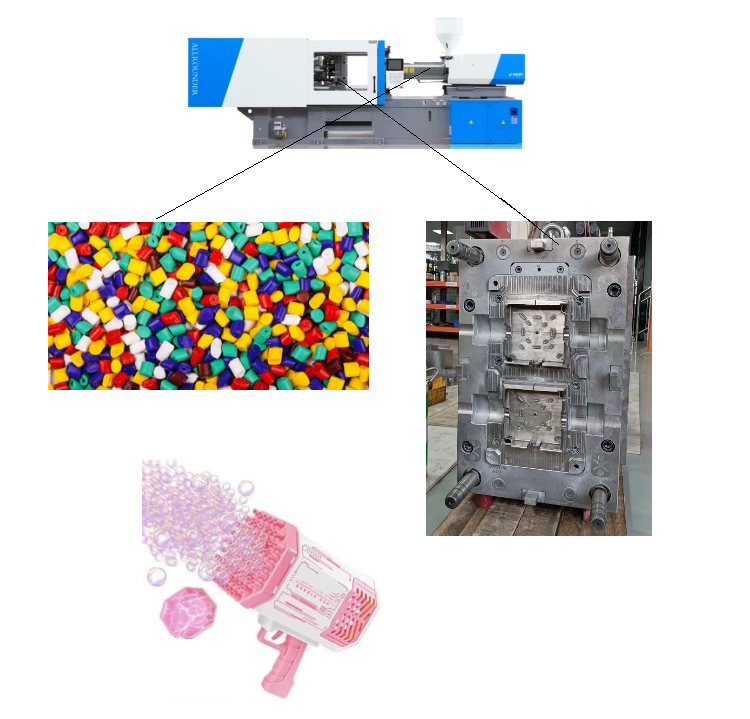
A toy injection molding machine turns plastic material into shaped toy parts.
First, the machine heats plastic pellets until they melt. Next, it injects the melt into a closed mold. After that, the plastic cools and becomes solid.
The machine then opens the mold and pushes out the finished part.
In simple terms:
Plastic pellets → Melting → Injection → Cooling → Ejection → Finished toy
This cycle can repeat again and again, which makes injection molding suitable for large-scale toy production.
Why Is Injection Molding Used for Toys?
Injection molding works well for toys because it can make many parts quickly and with good repeatability.
It also works with many common plastics, including PP, ABS, PS, PE, and TPE.
Another big advantage is mold flexibility.
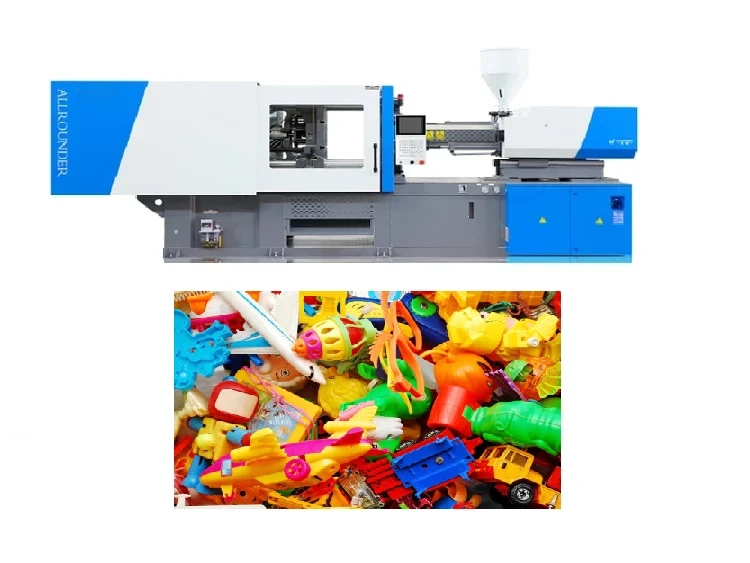
With the right mold, one machine can make:
- Toy wheels
- Toy blocks
- Toy figures
- Toy shells
- Toy handles
- Toy vehicle parts
- Small toy accessories
For high-volume production, a multi-cavity mold can make several parts in one cycle.
That is where injection molding really shines.
What Materials Are Used in the Toy Injection Molding Process?
Different toys need different plastic materials.
The right material depends on the toy’s strength, flexibility, appearance, cost, and use.
PP for Light and Flexible Toys
PP, or polypropylene, is widely used for many plastic toy parts.
It is light, has good chemical resistance, and can provide good flexibility.
PP can work well for:
- Toy containers
- Toy handles
- Toy blocks
- Toy accessories
- Flexible toy parts
It also works well in high-volume injection molding.
For example, Haichen has production cases for PP toy teapot bases, bodies, and handles.
One toy teapot handle uses a 4-cavity mold with an HCK 230 machine and a 15-second cycle time.
This shows how PP and injection molding can support fast toy production.
ABS for Strong Toy Parts
ABS is known for good strength and impact resistance.
It is often used when a toy needs a harder and stronger surface.
ABS can be suitable for:
- Toy vehicle parts
- Figures
- Housings
- Building parts
- Structural toy components
However, ABS needs suitable temperature control during molding.
Too much heat can affect color and material quality.
PS for Rigid Toy Parts
PS, or polystyrene, is a rigid plastic that can provide a smooth surface.
It can work well for some toy parts that do not need high impact resistance.
However, PS can be more brittle than materials such as ABS.
Therefore, material selection should always follow the actual toy design and use.
TPE for Soft Toy Parts
TPE is useful when a toy needs a soft or rubber-like feel.
It can be used for:
- Soft grips
- Flexible toy parts
- Soft-touch surfaces
- Toy wheels
- Handles
TPE comes in different grades, so processing conditions can vary.
The machine settings should follow the material supplier’s recommendations.
Other Plastic Materials for Toy Production
Other materials can also be used in toy production.
Common options include:
- PE
- TPU
- Nylon
- PC
- PC/ABS
Some toys may also use more than one material.
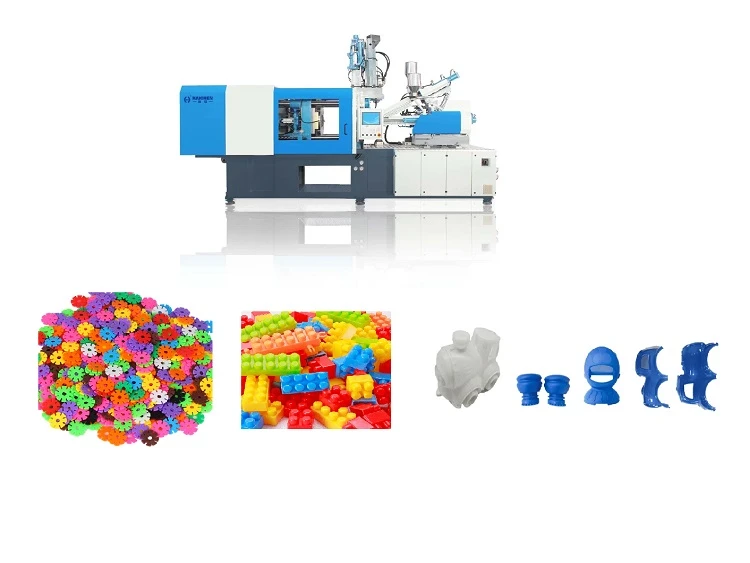
For example, a hard plastic body may be combined with a soft TPE part.
In this case, the machine, mold, and material system need to match the production method.
How Does the Toy Injection Molding Process Work?
The toy injection molding process has several main steps. Each step affects the final part, so one weak step can cause problems later.
Step 1: Plastic Pellets Enter the Injection Molding Machine
The process starts with plastic pellets.
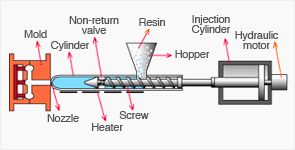
The pellets enter the machine through the hopper. From there, they move into the barrel.
Depending on the material, the pellets may need to be dried before molding.
This is especially important for materials that absorb moisture.
If wet material enters the machine, it can cause bubbles, silver streaks, poor surface quality, or weak parts.
So, proper material handling is the first step toward good toy quality.

Step 2: The Screw Melts and Mixes the Plastic
Inside the barrel, the screw rotates and moves the pellets forward.
At the same time, barrel heaters add heat. The screw also creates shear, which adds more heat to the material.
As the plastic moves forward, it melts and becomes more uniform.
The screw then moves backward and prepares the correct amount of melt for the next shot.
The goal is not simply to make the plastic hot.
The goal is to create a stable and well-mixed melt.
If the melt temperature is too low, the plastic may not fill the mold well. If it is too high, the material may start to degrade.
Step 3: The Mold Closes
Before injection starts, the clamping unit closes the mold.
The machine applies enough clamping force to keep the mold closed.
This step matters because the plastic enters the mold under high pressure.
If the clamping force is too low, the mold may open slightly and create flash.
Once the mold reaches the correct position, the machine is ready for injection.
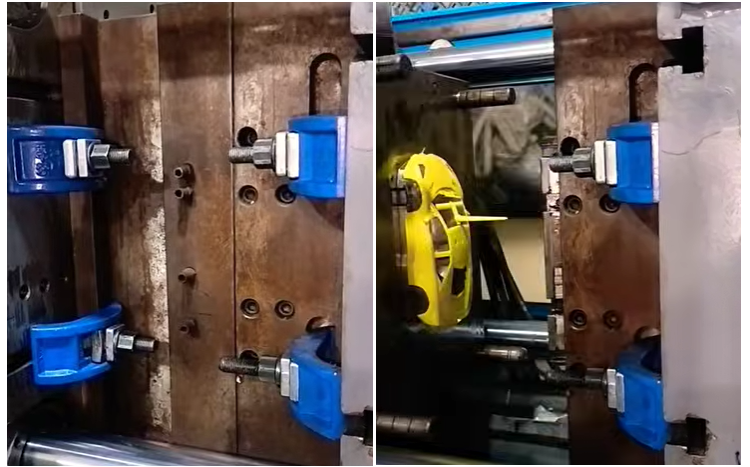
Step 4: The Machine Injects the Molten Plastic
The screw moves forward and pushes the molten plastic into the mold.
The plastic flows through the runner and gate and then fills the cavity.
Injection speed is important here.
If the speed is too slow, the plastic may cool before the cavity fills. This can cause short shots, flow marks, or weld lines.
However, very high speed is not always better. It can increase shear and create too much heat.
Therefore, the machine needs a stable injection speed that matches the toy design and material.
Step 5: The Toy Cools and Comes Out
After the cavity fills, the machine holds pressure for a set time.
Then the plastic starts to cool inside the mold.
Cooling is important because the part needs enough strength to keep its shape.
When the part has cooled enough, the mold opens.
The ejector system then pushes the toy part out.
After ejection, the mold closes again and the next cycle starts.
For a high-output toy factory, this cycle can repeat thousands of times.