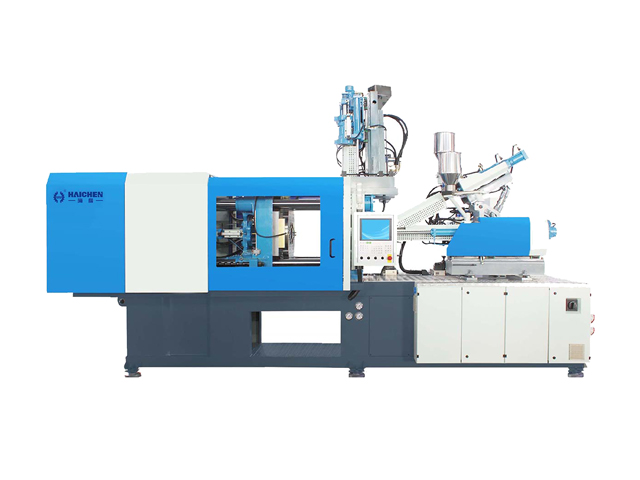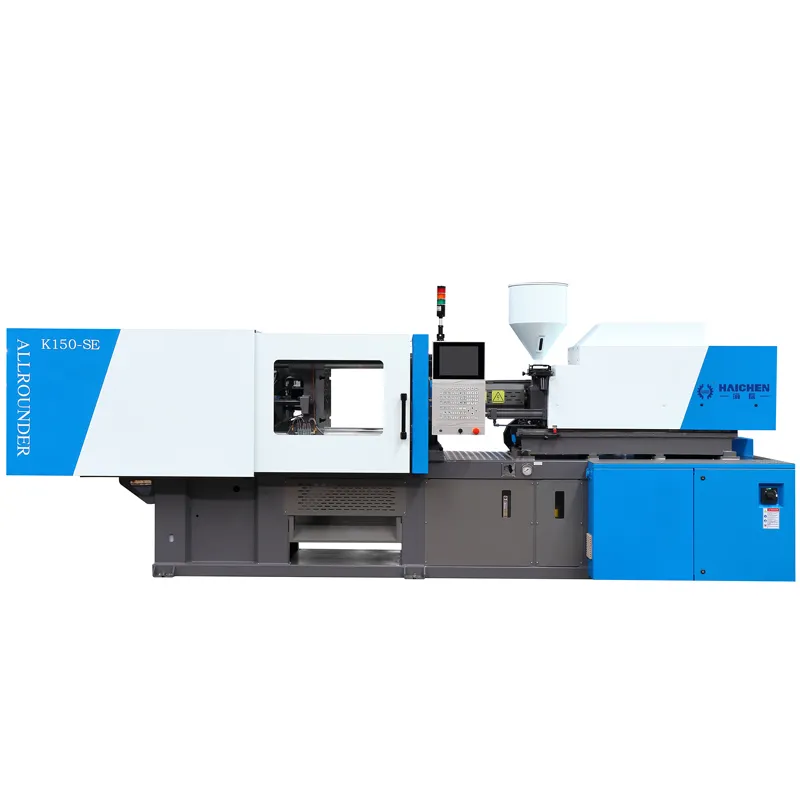
Large injection molding machine disassembly and transportation: exceeding size limits and exceeding weight limits.
The weight of a complete machine, often twenty to thirty tons, far exceeds the load-bearing capacity of a shipping container.
Ultimately, the essence of disassembling and transporting large machinery can be summed up in one sentence: the more effort you put into disassembling, the easier it will be to reassemble.
Decomposition Logic and Unit Division
Our Haichen 1200T plastic injection molding machine is over 12 meters long and over 3 meters high; it simply won’t fit into a standard shipping container.
Our solution is simple: split into several spare parts and transport them in separate containers.
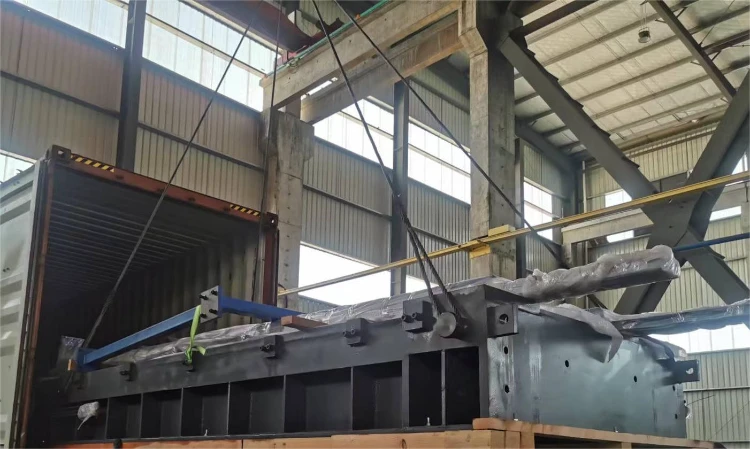
It will need 1*40HQ+2*20GP. 1*40HQ includes the injection unit and bottom base of the clamping unit; another 1*20GP includes the moved platen+back platen+tie bars; 1*20GP includes fixed platen+safety doors+clamping cylinder+Distribution box+accessories.
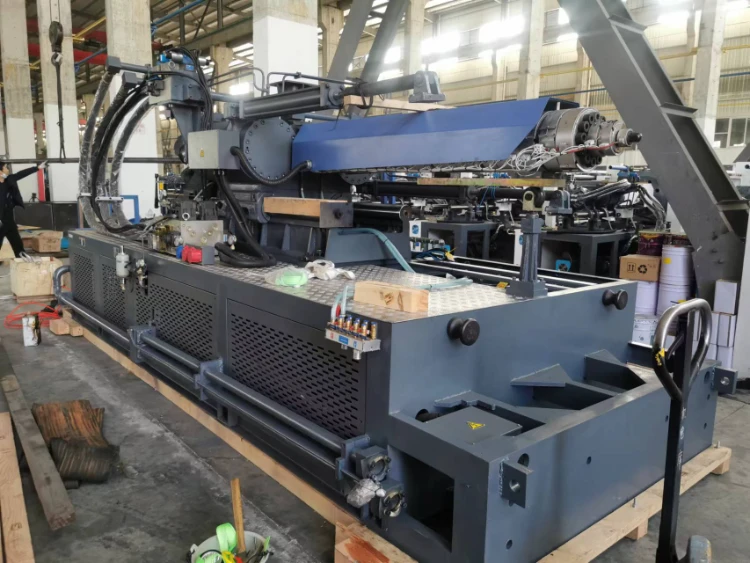
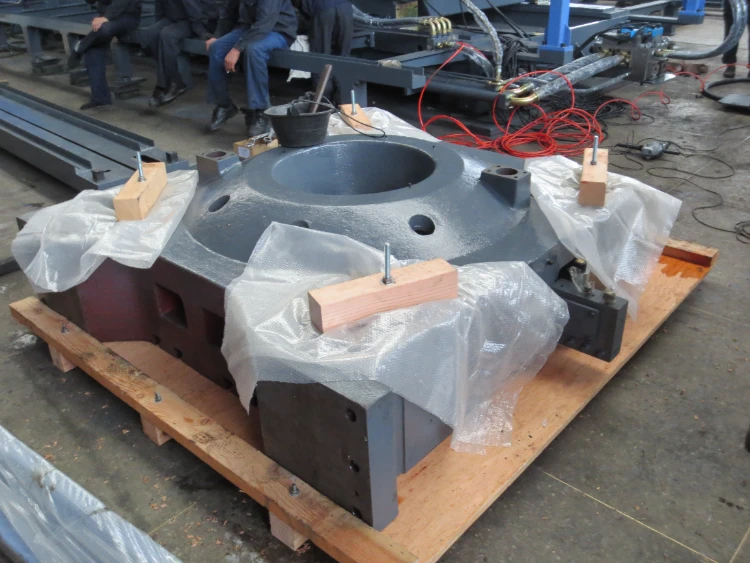
Preparation before disassembly
Precision component wrapping
Workers must give special protection to precision components.
They typically use hard and soft methods: wrap in bubble wrap, then apply waterproofing and corner protectors.
Forced fixation of moving parts
Operators must securely fasten all moving parts—including the injection unit, mold clamping mechanism, and safety door—with hardwood blocks, special brackets, or cable ties to prevent displacement and impact during transportation.
Three-step disassembly method
Step 1: Power off, depressurize, and reset to zero
Step 2: Disconnect connecting parts and mark them with numbers
Step 3: Lift in sections and gently lower them into place
Power off, depressurize, and reset to zero
Power off and lock the entire machine; drain the hydraulic oil and residual oil from the pipelines to prevent contamination.
Disconnect connecting parts and mark them with numbers
Workers bagged and labeled all removed screws and seals. They photographed and labeled oil pipe and circuit interfaces one by one, and sealed the interfaces with plugs to prevent dust.
Lift in sections and gently lower them into place
They lifted the clamping unit and injection unit sections separately and loaded them into their respective containers. They made the lifting ropes from canvas to prevent injury to the finished surfaces.
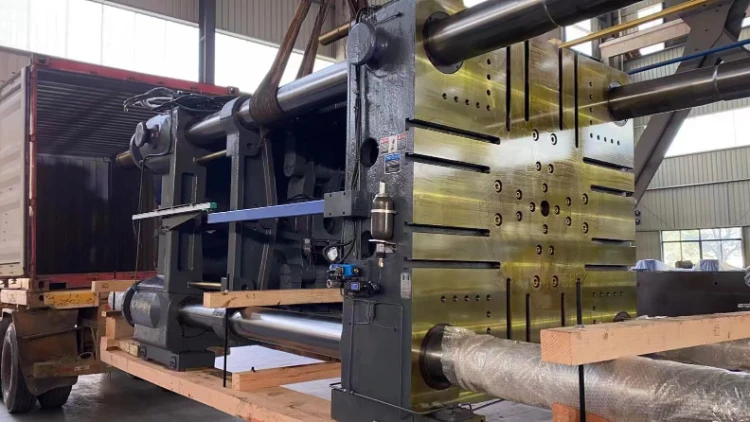
Quick-connect couplings: fast connection, fast disassembly, and error-free
Hydraulic hose quick-connect: Utilizing an EAS ejector quick-connect design, this system is self-locking and leak-free, automatically locking upon connection and remaining leak-free upon disconnection.
The connector features a floating design to accommodate minor misalignments between interfaces, eliminating the need for traditional wrench tightening.
Capacity is available as an option for the 1200T model, meeting high-pressure, high-flow requirements.
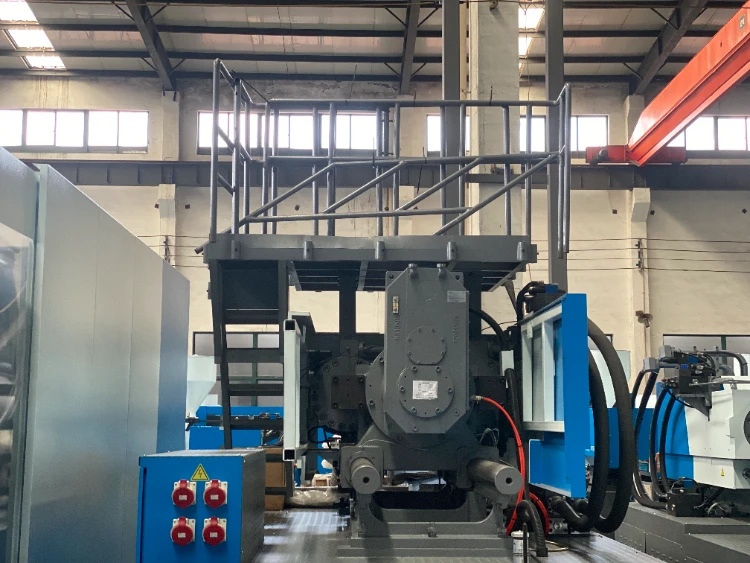
Quick-connect circuit (control signal line): The main control wiring harness uses a multi-core aviation connector, allowing for one-click connection.
Engineers integrated the signal and power lines into a single connector, eliminating the need for workers to connect individual wires by number.
The quick-connect device utilizes the injection molding machine’s own hydraulic and pneumatic power to automatically connect various pipelines, significantly reducing preparation time.
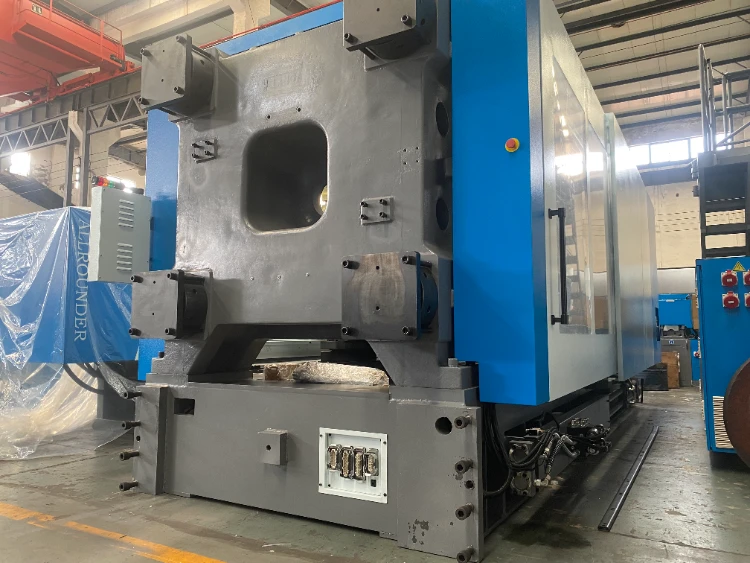
The core solution to the procurement pain points—such as difficulties in transportation and assembly—boils down to three key principles
Meticulous marking during disassembly, strict adherence to the assembly plan, and the support of a professional team throughout the entire process.