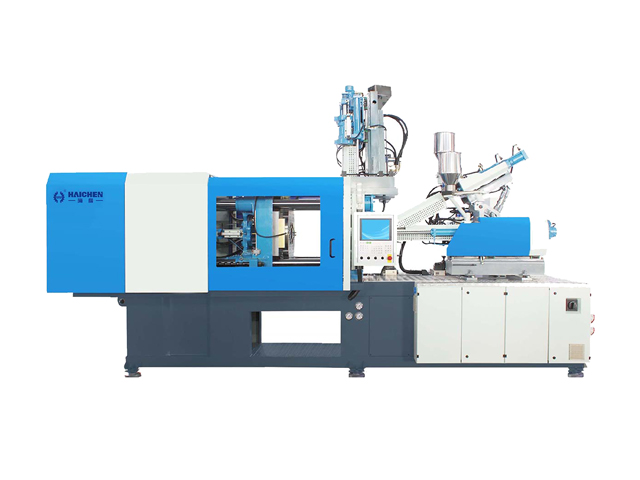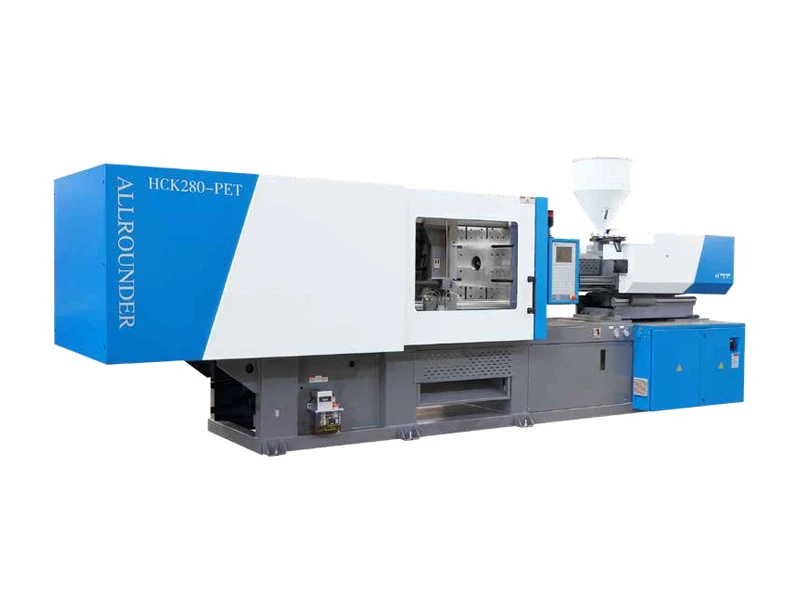
Choosing the right injection molding machine requires more than checking its clamping force. You also need to make sure the injection unit can provide enough plastic for each molding cycle.
This is where shot size matters.
So, how do you calculate injection molding machine shot size?
The basic calculation is straightforward:
Total Shot Weight = Part Weight × Cavity Number + Runner Weight
First, calculate the total weight of the molded parts. Then, add the runner and sprue weight. Finally, compare the required shot weight with the machine’s rated shot capacity.
However, don’t stop at the basic number. You also need to consider the plastic material, machine specification, shot utilization, and injection unit.
As an injection molding machine manufacturer, we normally look at two questions:
How much plastic does the mold need per cycle?
Can the machine provide that amount within a suitable working range?
Once you answer both questions, machine selection becomes much easier.
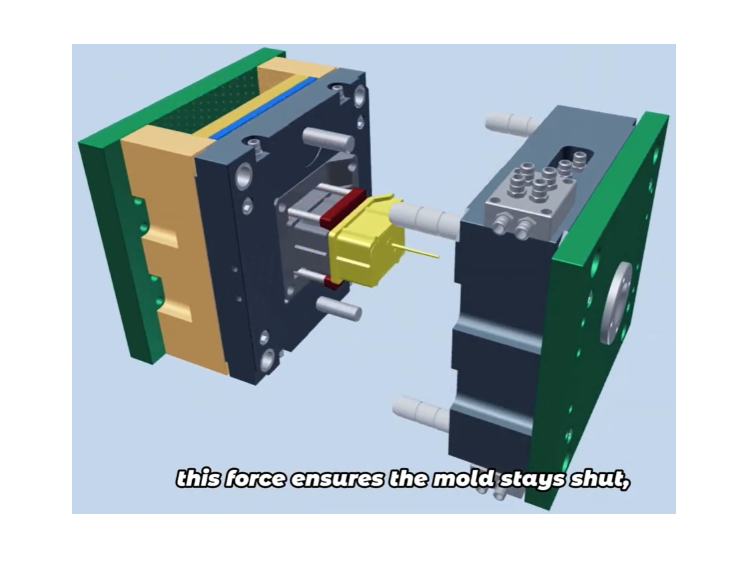
What Is Shot Size?
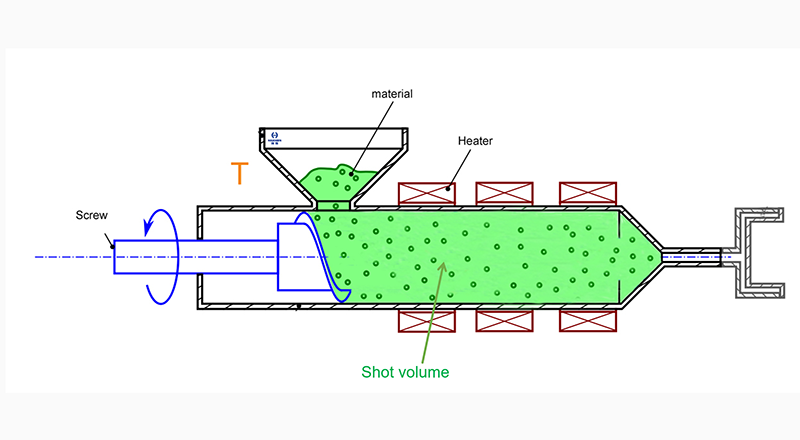
Shot size describes the amount of plastic that the injection unit can deliver for one injection cycle.
In practical machine selection, you will often see three related terms:
- Part weight: The weight of one finished molded part.
- Shot weight: The total weight of plastic needed for one complete shot.
- Machine shot capacity: The rated amount of material that the injection unit can deliver.
These values are not the same.
For example, a four-cavity mold may produce four 30 g parts. The parts alone need:
30 × 4 = 120 g
If the runner weighs another 20 g, the complete shot needs:
120 + 20 = 140 g
Therefore, the mold needs about 140 g of plastic per cycle, not 120 g.
This difference looks small, but it becomes important when you select the machine.
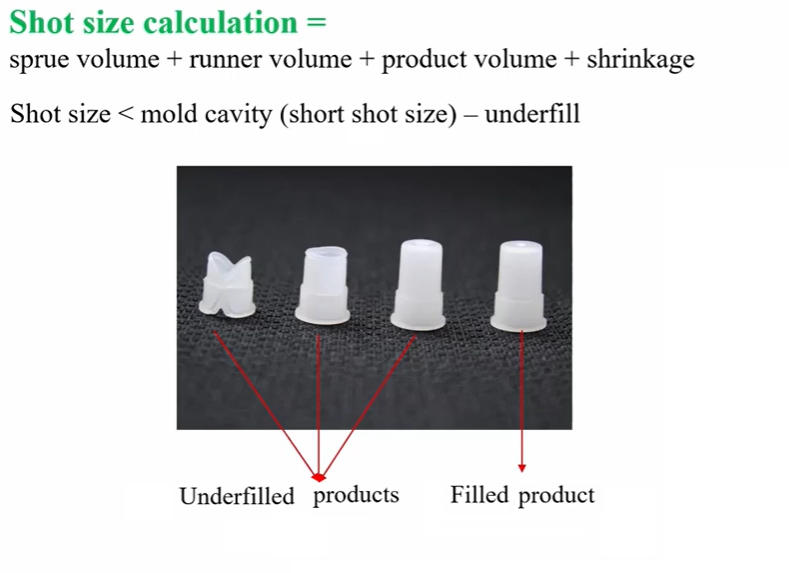
Why Does Shot Size Matter?
The injection unit needs enough capacity to complete the shot while maintaining stable process control.
If the required shot is larger than the practical capacity of the machine, the screw may not have enough available material for the complete filling and packing process.
On the other hand, an injection unit that is much larger than the application may leave the actual shot at a very low percentage of its capacity.
That can increase material residence time in the barrel. For heat-sensitive materials, long residence time can increase the risk of material degradation.
Therefore, the goal is not simply to choose the largest shot capacity.
You need enough capacity for the application while keeping the actual shot within a practical working range.
And that is the key reason why shot size matters.
What Information Do You Need?
You only need three basic pieces of information to calculate the required shot weight:
- Part weight
- Cavity number
- Runner weight
For machine selection, you should also know the plastic material and the machine’s shot-capacity specification.
Part Weight
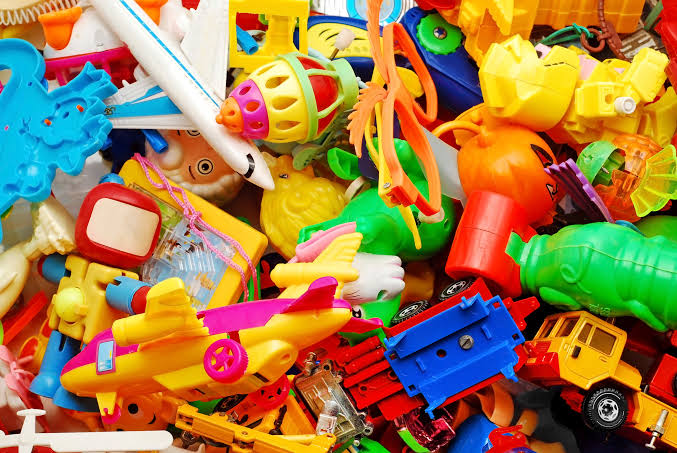
Part weight means the weight of one finished molded part.
For an existing mold, you can weigh a good molded part with a suitable precision scale.
For a new project, you can estimate the weight from the part volume and material density.
Make sure you measure the finished part separately from the runner. Otherwise, you may count the same material twice when you calculate the complete shot.
For example:
One part = 30 g
This value becomes the starting point for the shot calculation.
Cavity Number
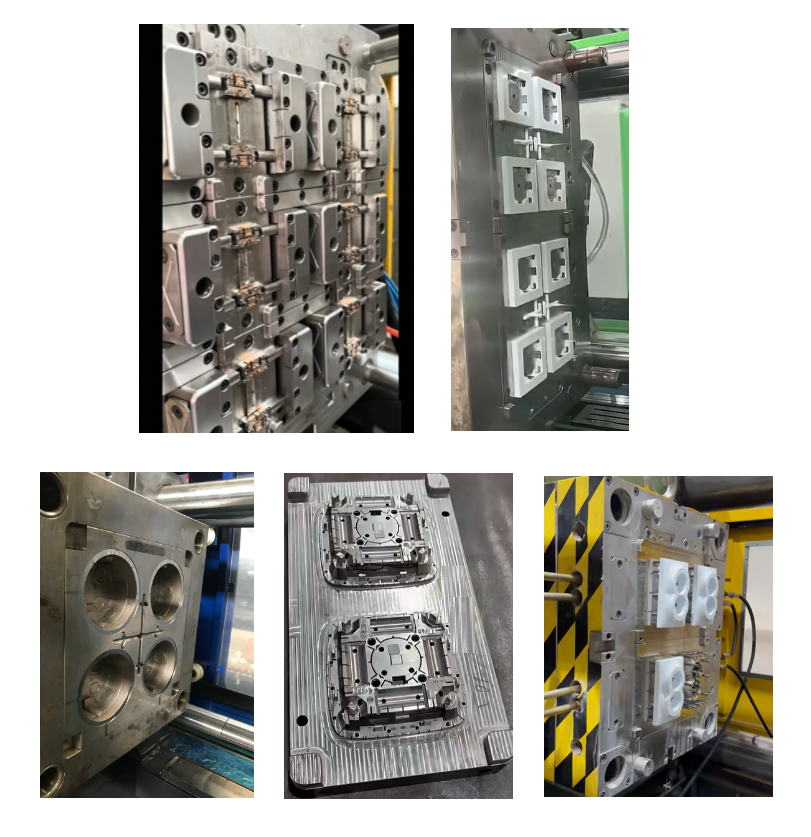
Cavity number tells you how many parts the mold produces in one cycle.
For example, a mold can have:
- 1 cavity
- 2 cavities
- 4 cavities
- 8 cavities
- 16 cavities
More cavities mean more finished parts per cycle. Therefore, you need to multiply the weight of one part by the total number of cavities.
For example:
30 g × 4 cavities = 120 g
So, four 30 g parts require 120 g before you add the runner.
Runner Weight
Runner weight refers to the material in the runner and sprue that enters the mold during one cycle.
You need to include this weight when the mold uses a cold runner.
For a hot-runner mold, the mold may have little or no solid runner material that leaves the mold with the parts.
However, you should still check the actual mold design before making the calculation.
For an existing mold, you can weigh the runner from one complete shot.
For a new mold, ask the mold designer for the estimated runner and sprue weight.
How to Match Shot Size With the Machine
Once you know the required shot weight, the next step is to check the injection unit.
The machine needs enough shot capacity for the application, but you should also avoid choosing an injection unit that is unnecessarily large.
Check Machine Shot Capacity
First, check the machine’s rated shot capacity.
Manufacturers may list shot capacity in:
- Grams
- Ounces
- cm³
- Injection volume
Always check how the manufacturer defines the specification.
Many injection molding machines use PS as the reference material when they state shot weight. Therefore, a machine rated at 300 g does not necessarily inject 300 g of every plastic material.
The reason is simple: different plastics have different densities.
For example, if the machine specification gives a shot capacity based on PS, you need to consider the actual material when you run PP, ABS, PC, PA, or another resin.
So, when comparing machines, don’t look at the number alone.
Check the unit, reference material, and manufacturer’s calculation method.

Keep a Suitable Shot Range
Next, calculate how much of the machine’s rated capacity the application uses.
A simple calculation is:
Shot Utilization = Required Shot Weight ÷ Machine Shot Capacity × 100%
For example:
- Required shot = 140 g
- Machine shot capacity = 250 g
Then:
140 ÷ 250 × 100% = 56%
The application uses about 56% of the rated capacity.
This gives you a useful first check.
However, there is no single percentage that works for every plastic and every machine. Material type, screw design, processing temperature, and residence time can change the suitable working range.
Therefore, use the machine manufacturer’s recommended range as the main reference.
If the shot sits very close to the machine’s maximum capacity, you may need a larger injection unit.
If the shot uses only a very small part of the available capacity, you should also review the injection unit size, especially for heat-sensitive materials.
Check Screw Diameter
Shot capacity gives you the basic material-volume information, but the injection unit still needs to suit the application.
Therefore, check the screw diameter together with the shot capacity.
The screw affects the available injection volume and overall injection performance. Different applications can also need different screw configurations.
For example, a thin-wall product may require a different injection-unit setup from a thick-wall technical part.
You do not need to calculate screw diameter from shot weight alone.
Instead, treat it as a second machine-selection check:
Shot capacity tells you whether the machine has enough material volume.
Screw selection helps confirm whether the injection unit suits the application.
This approach keeps the machine selection practical without mixing shot-size calculation with detailed screw design.
Shot Size Example
Let’s now use a complete example.
Suppose a customer wants to produce a four-cavity ABS plastic part.
The production data is:
- Part weight: 30 g
- Cavity number: 4
- Runner weight: 20 g
- Machine shot capacity: 250 g
Example for a Multi-Cavity Mold
First, calculate the total part weight:
30 × 4 = 120 g
Next, add the runner:
120 + 20 = 140 g
Therefore:
Required Shot Weight = 140 g
Now compare the required shot with the machine capacity:
140 ÷ 250 × 100% = 56%
The required shot uses about 56% of the machine’s rated capacity.
At first glance, this looks like a reasonable starting point.
However, we still need to check the basis of the 250 g rating. If the manufacturer uses PS as the reference material, we need to consider the actual ABS material before making the final decision.
We should also check the screw diameter and the complete injection-unit specification.
So, the calculation tells us that the mold needs about 140 g per cycle. The machine specification then tells us whether the injection unit can handle that requirement properly.
That’s the difference between calculating shot size and selecting the final machine.
Common Shot Size Mistakes
The calculation itself is simple. Most mistakes come from using incomplete or incorrect data.
Ignoring Runner Weight
One common mistake is to calculate only:
Part Weight × Cavity Number
For example:
25 g × 4 = 100 g
Then someone selects a machine based on 100 g.
But if the runner weighs 15 g, the actual shot becomes:
100 + 15 = 115 g
The machine therefore needs to handle 115 g, not 100 g.
So, always include the runner when the mold produces a solid runner.
Using the Maximum Shot Capacity
Another mistake is to treat the maximum rated shot as the normal production target.
For example, a machine may have a rated capacity of 300 g. That does not mean every 300 g application makes a good match.
Running close to the maximum leaves less room for normal process variation.
Therefore, compare the actual shot with the manufacturer’s recommended working range instead of using the maximum number as your target.
In short, maximum capacity is a limit, not a recommended production target.
Choosing a Machine With Too Much Shot Capacity
Oversizing the injection unit can also create problems.
Suppose the mold needs 80 g per shot, but the machine has a 500 g shot capacity.
The utilization becomes:
80 ÷ 500 × 100% = 16%
The machine has plenty of capacity, but the actual shot uses only a small part of it.
For some materials, this can increase residence time and make temperature control more difficult.
Therefore, a bigger injection unit does not automatically give better production.
A suitable machine should provide enough capacity without leaving an unnecessarily large amount of unused injection volume.
Shot Size Checklist
Before selecting the injection molding machine, check the following:
| Item | What to Check |
|---|---|
| Part weight | Weight of one finished part |
| Cavity number | Number of parts produced per cycle |
| Runner weight | Runner and sprue weight per shot |
| Total shot weight | Part weight × cavities + runner |
| Plastic material | Actual resin used in production |
| Material density | Check when converting between weight and volume |
| Machine shot capacity | Rated capacity of the injection unit |
| Capacity basis | Check whether the rating uses PS or another reference |
| Shot utilization | Compare required shot with machine capacity |
| Screw diameter | Confirm suitability for the application |
| Injection unit | Check the complete injection-unit specification |
Conclusion
Calculating injection molding machine shot size starts with three numbers: part weight, cavity number, and runner weight.
The basic formula is:
Total Shot Weight = Part Weight × Cavity Number + Runner Weight
After that, compare the required shot with the machine’s rated shot capacity.
However, don’t choose a machine simply because its maximum shot capacity looks large enough. Check the material reference, shot utilization, screw diameter, and complete injection-unit specification as well.
In simple terms:
Calculate how much plastic the mold needs.
Check how much the machine can provide.
Then make sure the injection unit suits the actual material and application.
That process helps you choose an injection molding machine that can run the mold reliably without unnecessary injection capacity.