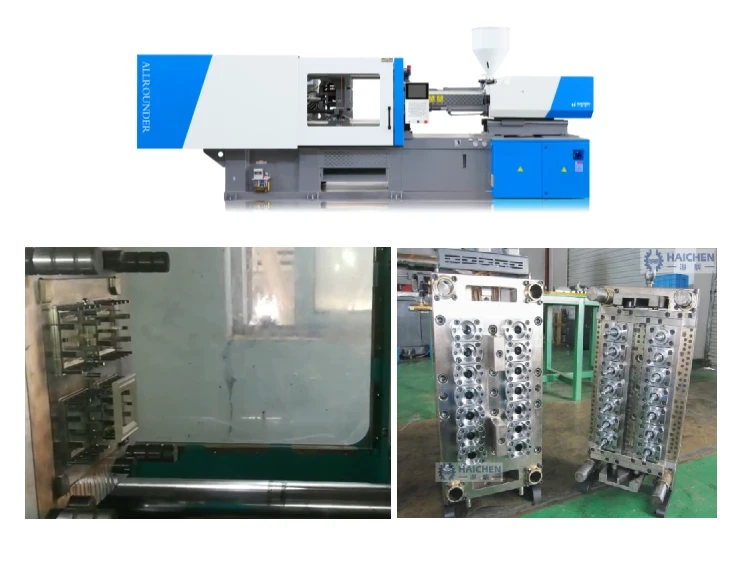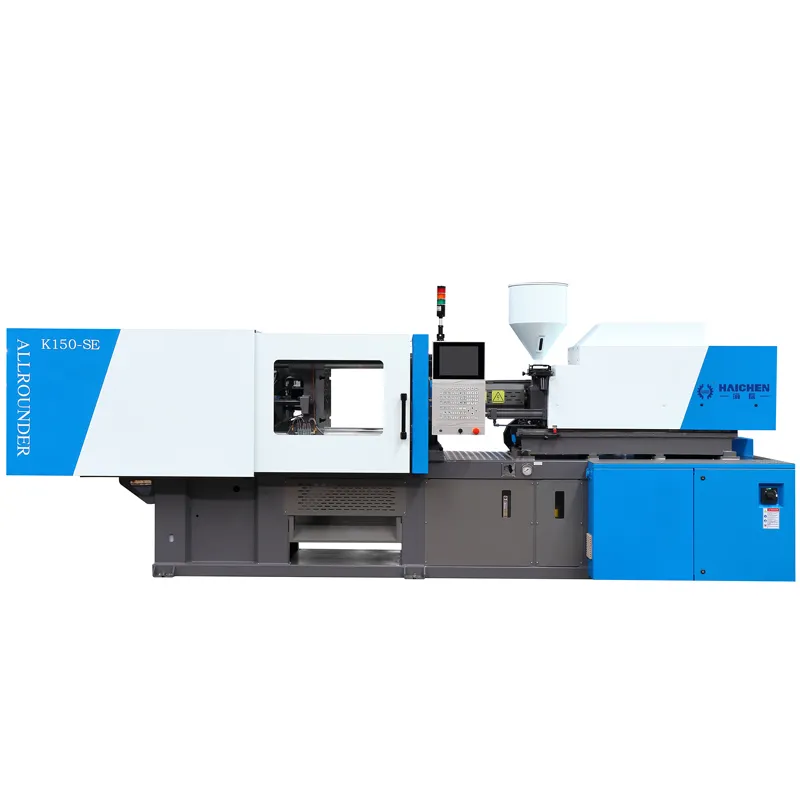
Choosing an injection molding machine is not just about machine tonnage. The mold must also fit the machine in size, weight, opening space, injection unit, and ejection system.
A mold may look small enough for a machine, but that does not mean it will work well on that machine. For example, the mold may fit between the tie bars but exceed the machine’s mold thickness range.
Or, the machine may have enough clamping force but not enough shot size.
Therefore, before you install a mold, check the key machine and mold data one by one.
From an injection molding machine manufacturer’s point of view, we normally check five main areas:
- Mold size and weight
- Injection unit
- Clamping force
- Mold opening
- Ejection system
This simple check can help you avoid choosing a machine that looks right but cannot run the mold correctly.
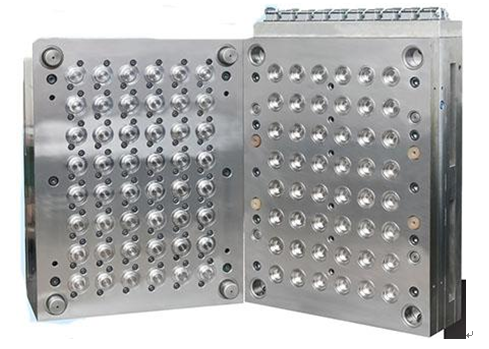
What Information Do You Need to Check Mold Compatibility?
Before checking the machine, collect the basic mold and part data. You do not need a long list. A few key numbers can tell you a lot.
Mold Size and Weight
Start with the mold dimensions and weight.
You should know:
- Mold length
- Mold width
- Mold height
- Mold weight
Then compare these numbers with the injection molding machine.
The mold length and width must fit the machine’s platen and tie-bar area. The mold height must also fall within the machine’s mold height range.
Mold weight matters too. Every injection molding machine has a limit for the mold weight it can support.
So, a mold can fit in terms of size but still exceed the machine’s mold weight limit.
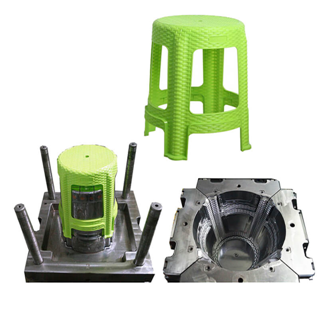
Part Weight and Material
Next, check the plastic part.
You need to know:
- Part weight
- Number of cavities
- Plastic material
- Runner weight, if any
Part weight and cavity number help you estimate the amount of plastic needed for one shot.
For example, if one part weighs 50 g and the mold has 4 cavities, the parts alone need 200 g of plastic per shot. You also need to include the runner system when the mold uses one.
The plastic material also matters because different materials need different injection pressure, speed, and temperature.
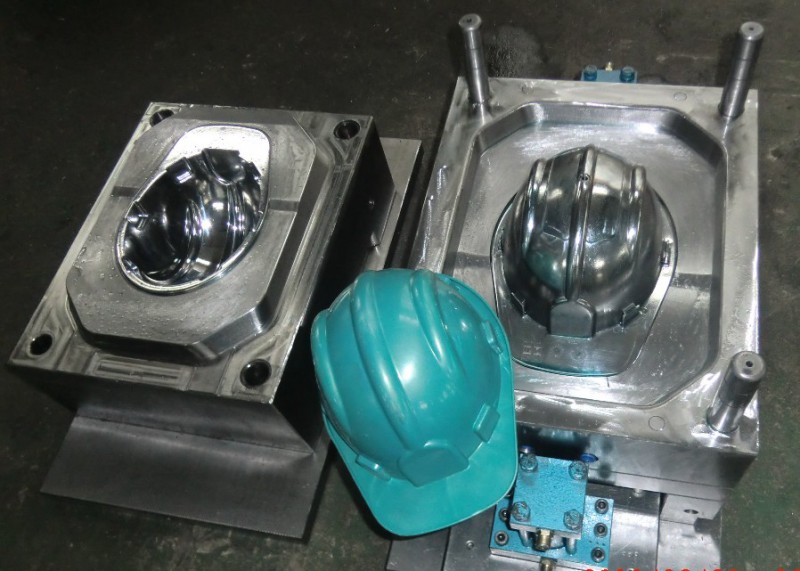
Mold Opening and Ejection Requirements
The mold must open far enough for the machine to remove the finished part.
Therefore, check:
- Required mold opening distance
- Part removal space
- Ejector stroke
- Ejector force
These values must match the injection molding machine.
A machine may have enough clamping force and shot size, but it still cannot run the mold if the machine cannot open it far enough or push the part out correctly.
How to Check Mold Size on an Injection Molding Machine
Mold size is one of the first things we check when a customer asks us to recommend an injection molding machine.
Tie-Bar Spacing
Tie-bar spacing tells you the maximum mold width and height that can enter the clamping area.
The mold must pass through the space between the tie bars.
For example, if the machine has a tie-bar spacing of 560 × 560 mm, a mold that measures 600 mm in width will not fit through the tie bars.
However, tie-bar spacing alone does not tell you whether the mold will work. You also need to check the platen size and mold thickness.
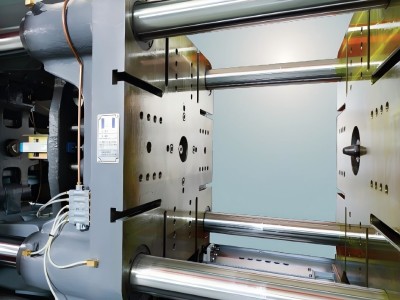
Platen Size
The platen holds the mold on the injection molding machine.
The mold should have enough contact area with the platen for safe mounting.
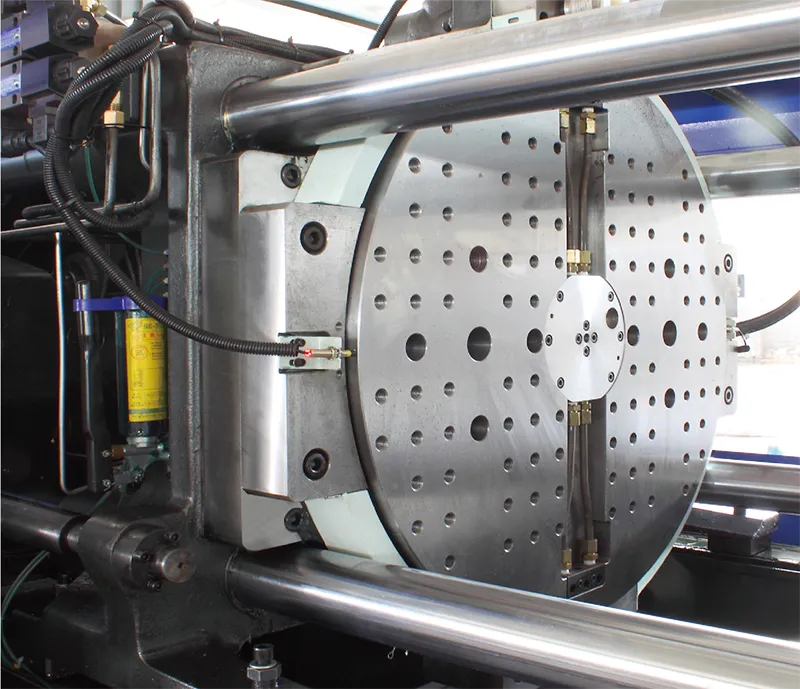
Also, check the mold mounting holes and their position. They should match the machine’s mounting system.
For this reason, we recommend checking the machine platen drawing before you order or install a mold.
This small step can save a lot of trouble later.
Mold Thickness
Every injection molding machine has a minimum and maximum mold height.
The mold thickness must fall inside this range.
For example, if a machine supports molds from 300 mm to 650 mm, a 250 mm mold falls below the machine’s minimum mold height.
A 700 mm mold exceeds the maximum.
In that case, the mold may fit between the tie bars, but the machine still cannot run it correctly.
So, always check mold thickness against the machine’s mold height range.
How to Check the Injection Unit
After checking the mold size, move to the injection unit.
This part matters because the machine must supply enough plastic and enough injection power for the shot.
Shot Size
Shot size tells you how much plastic the injection unit can inject in one shot.
A simple calculation starts with:
Shot weight = Part weight × Cavity number + Runner weight
For stable production, we normally do not recommend using the full rated shot size for every cycle.
As a practical guide, the required shot weight often works best within about 30%–70% of the machine’s rated shot capacity, depending on the material and machine design.
For example, if the total shot needs 500 g, a machine with a much smaller shot size will not work. On the other hand, a very large injection unit may not give the best result either.
Therefore, shot size should match the actual shot weight.
Screw Diameter
Screw diameter affects plasticizing speed, injection speed, and control.
A larger screw can provide a larger shot and higher plasticizing output. However, a larger screw does not automatically mean better production.
You should match screw size with:
- Shot weight
- Plastic material
- Required injection speed
- Production cycle
For high-output products, such as multi-cavity plastic parts, the screw and injection unit need enough plasticizing capacity to prepare the next shot within the cycle time.
Injection Pressure and Speed
The injection molding machine must provide enough pressure and speed to fill the mold.
Different plastics and part designs need different injection conditions.
For example, thin-wall parts may need high injection speed. Some materials may also need higher injection pressure.
Therefore, compare the machine’s maximum injection pressure and injection speed with the needs of the actual product.
Do not look at pressure alone. A machine may have high pressure but still lack the injection speed needed for a thin-wall product.
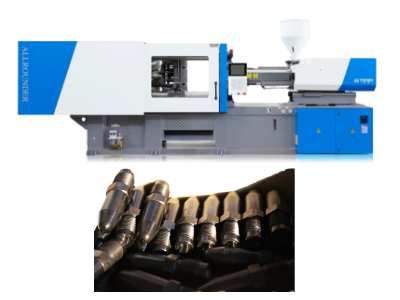
Nozzle Compatibility
The machine nozzle must connect correctly with the mold sprue.
Check:
- Nozzle radius
- Nozzle opening
- Nozzle length
- Sprue size
The nozzle should line up with the mold’s sprue center.
If the nozzle does not match the sprue, you may see leakage, poor filling, or connection problems.
Therefore, check the nozzle and sprue dimensions before installing the mold.
How to Check Clamping Force
Clamping force keeps the mold closed during injection.
If the machine does not have enough clamping force, the mold may open slightly during injection.
This can lead to flash and other quality problems.
Calculate Required Clamping Force
You can start with the projected area of the molded parts.
A simple formula is:
Required clamping force = Projected area × Mold pressure × Safety factor
The projected area includes the area that the plastic pressure acts on. You should also include the runner area when it adds to the projected area.
For a rough PP calculation, mold pressure may fall around 400–600 kg/cm², but the actual value depends on the part, material, flow path, and process conditions.
We also recommend using a safety factor, often around 1.15–1.20, rather than selecting a machine right at the calculated limit.
Match Machine Tonnage
After calculating the required clamping force, compare it with the machine’s rated clamping force.
For example, if your calculation gives a need of 250 tons, a machine with 250 tons of rated force may sit too close to the limit. A suitable machine should give some working margin.
However, do not choose the largest machine you can find.
An oversized machine can increase machine cost, energy use, and floor space. Instead, choose a machine that provides enough clamping force while also meeting the injection unit and mold requirements.
How to Check Mold Opening and Ejection
The last step is to check whether the machine can open the mold and remove the part correctly.
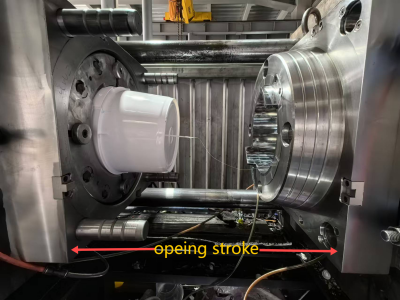
Mold Opening Stroke
The machine needs enough opening stroke to create enough space for part removal.
For simple parts, the required opening distance may be small. For deeper parts or parts that need more removal space, the machine may need a longer stroke.
Check the machine’s:
- Maximum opening stroke
- Mold opening space
- Minimum mold height
- Maximum mold height
The goal is to make sure the mold can open enough for safe and easy part removal.
Ejector Stroke and Force
The ejector system pushes the molded part out of the mold.
Check the machine’s:
- Ejector stroke
- Ejector force
- Ejector rod position
- Ejector rod spacing
The machine ejector should match the mold’s ejector system.
If the stroke is too short, the machine may not push the part out fully. If the ejector force is too low, the part may stay in the mold.
Therefore, check the ejector data before you install the mold.
Final Checklist for Mold and Injection Molding Machine Compatibility
Before choosing an injection molding machine, check these key points:
| Check | What to Compare |
|---|---|
| Mold size | Mold size vs. tie-bar spacing and platen size |
| Mold thickness | Mold height vs. machine mold height range |
| Mold weight | Mold weight vs. machine limit |
| Shot size | Total shot weight vs. machine shot capacity |
| Screw | Screw size vs. material and production needs |
| Injection | Pressure and speed vs. product requirements |
| Nozzle | Machine nozzle vs. mold sprue |
| Clamping force | Required force vs. machine tonnage |
| Opening | Mold opening needs vs. machine stroke |
| Ejection | Mold ejection needs vs. machine ejector data |
A mold fits an injection molding machine only when all the key machine limits match. Checking one number, such as machine tonnage, is not enough.
As an injection molding machine manufacturer, we normally check the mold size, shot weight, material, clamping force, injection unit, opening stroke, and ejector data together. This gives a much more reliable machine choice.
In short, do not choose an injection molding machine by tonnage alone. Check the complete machine-to-mold match before you place the order.