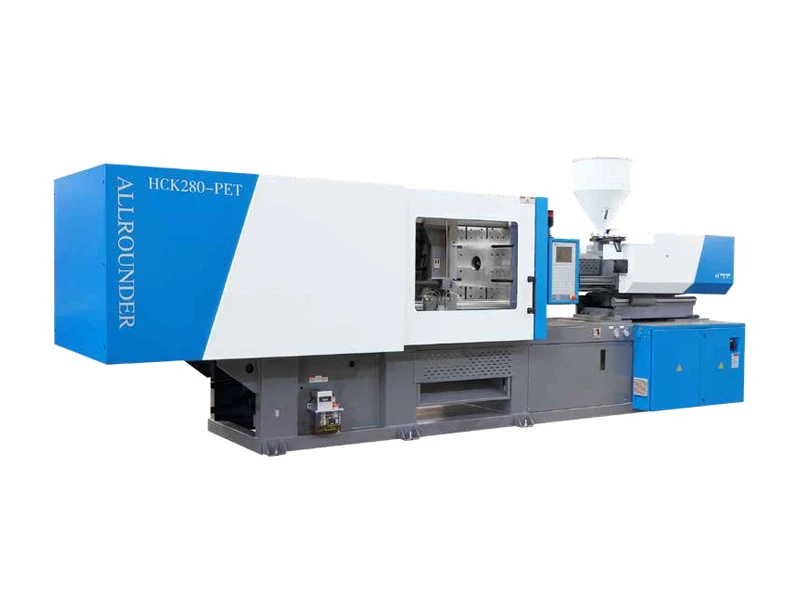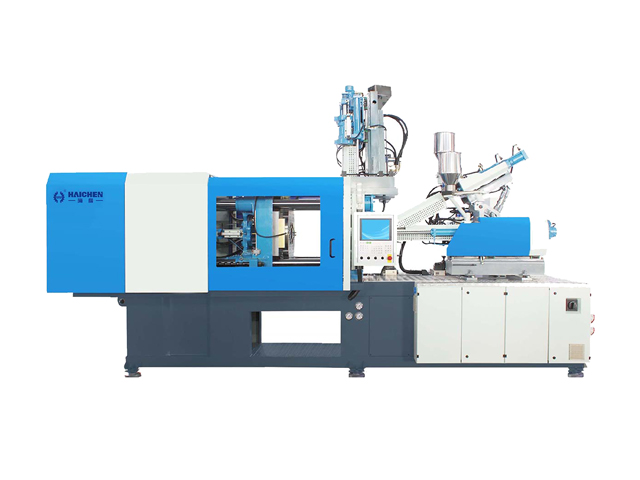
Injection speed affects how molten plastic fills a mold. If the speed is too low, the melt may cool before it fills the cavity. If the speed is too high, it may cause burn marks, flow problems, or other defects.
As an injection molding machine manufacturer, Haichen recommends choosing injection speed based on the plastic material, part design, mold structure, and machine capacity.
The goal is to fill the mold quickly and evenly while keeping part quality stable.
What Is Injection Speed?
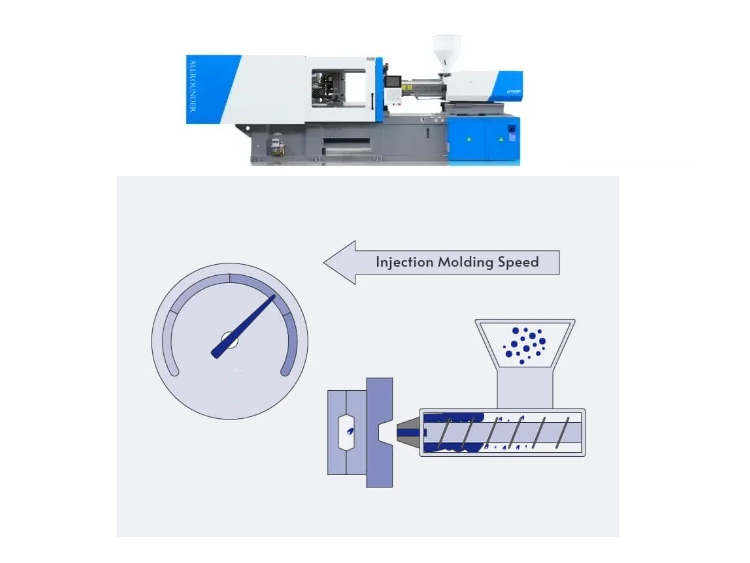
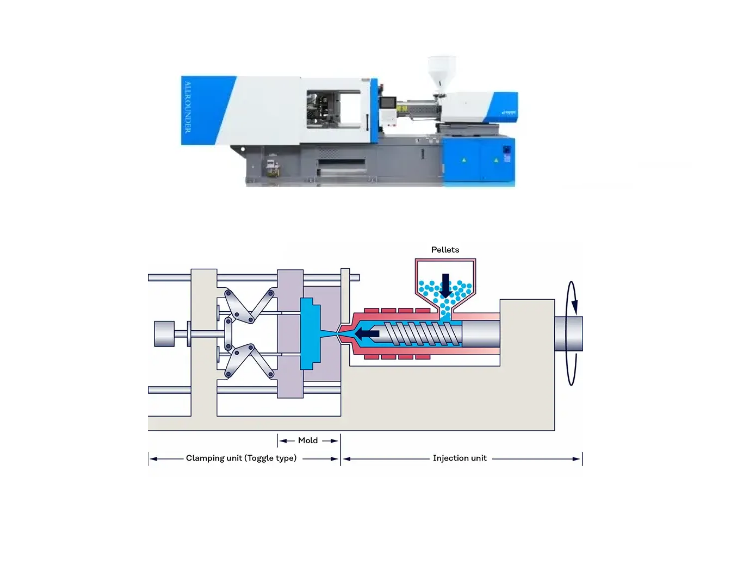
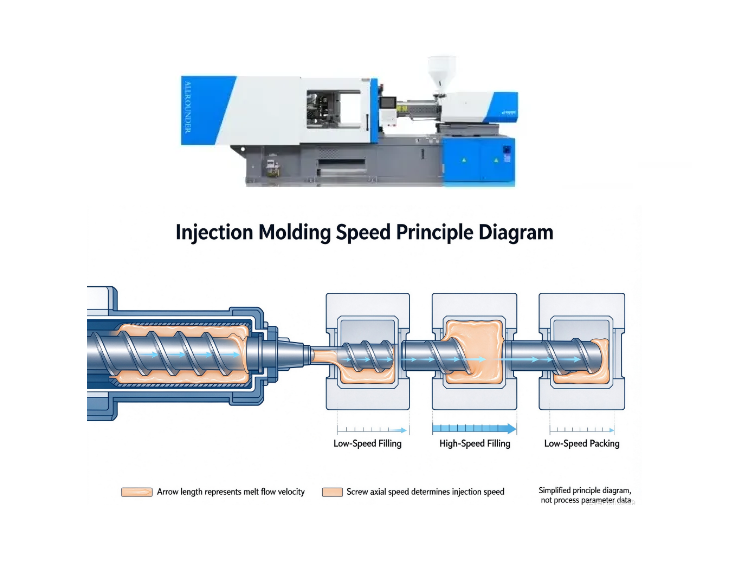
Injection speed describes how fast the screw moves forward during the injection stage. This movement pushes molten plastic through the nozzle, runner, and gate into the mold cavity.
Machine specifications may list two related values:
- Injection speed (mm/s): How fast the screw moves forward.
- Injection rate (cm³/s): How much plastic volume the machine can inject per second under specified conditions.
These values are related, but they are not the same. Injection pressure also differs from injection speed. Speed describes movement, while pressure describes the force that pushes the melt through the flow path.
Why Does Injection Speed Matter?
Filling Time and Production Speed
A suitable injection speed helps the machine fill the cavity within the required time. Thin-wall parts often need faster filling because the melt can cool quickly in narrow sections.
However, filling time is only one part of the molding cycle. Cooling, plasticizing, mold opening, and ejection also affect total cycle time. Faster injection does not always mean higher production output.
Part Quality and Surface Finish
Injection speed affects melt flow, heat generation, and how the plastic reaches different areas of the cavity.
A suitable speed helps reduce flow-related defects and supports consistent part quality.
The right setting depends on the material and mold. Simply increasing the speed may not solve a filling problem.
What Affects the Choice of Injection Speed?
Plastic Material
Different plastics have different flow properties and processing temperatures.
Some materials need faster filling to prevent early cooling, while others may need more controlled filling to avoid excessive shear heating or surface defects.
Check the material supplier’s processing guidelines before setting the injection speed.
Part Size and Wall Thickness
Thin-wall parts often need higher injection speed because the melt has less time to fill narrow sections before cooling. Thick-wall parts may allow slower filling, depending on the material and flow path.
Part shape also matters. Long flow paths and narrow sections can make filling more difficult, so check the full part design rather than size alone.
Mold Design and Gate Size
Small gates, narrow runners, and complex flow paths can restrict melt flow. A suitable speed can help the melt fill the cavity, but excessive speed may increase shear heating or cause defects.
Proper venting and balanced runner design also help the mold fill evenly. If filling remains difficult, check the mold design before relying on higher injection speed alone.
Number of Cavities
Multi-cavity molds must distribute the melt across several cavities. The cavity count alone does not determine the required speed. Runner balance, gate size, total shot volume, and machine injection rate all affect filling.
For multi-cavity production, check whether each cavity fills consistently during trial runs.
How to Choose the Right Injection Speed
Check the Product and Material Requirements
Start with the plastic type, wall thickness, flow length, and surface requirements. Review the material supplier’s processing range and the mold design before choosing an initial speed.
Use trial runs to confirm the setting. There is no single injection speed that suits every product made from the same plastic.
Check the Machine’s Injection Rate and Speed Range
Check the machine’s injection rate, screw diameter, shot volume, and available injection speed settings. The machine must deliver the required shot volume within the target filling time.
Haichen’s HCK-230 specification table lists three injection unit options:
| Screw diameter | Injection rate | Theoretical shot volume |
|---|---|---|
| 45 mm | 152 cm³/s | 398 cm³ |
| 50 mm | 188 cm³/s | 491 cm³ |
| 55 mm | 228 cm³/s | 594 cm³ |
These figures come from Haichen’s supplied machine parameter table. They show the listed injection capacity for each option, not the actual filling speed for every mold.
When selecting a machine, check both the required shot volume and the filling rate. A larger shot volume alone does not guarantee faster or better filling.
Set the Speed for Each Stage of Filling
Some injection molding machines allow multi-stage injection speed control. This feature lets operators change the speed as the melt moves through the mold.
For example, a process may use a controlled initial speed, a higher speed through thin sections, and a lower speed near the end of filling. The correct profile depends on the part and mold, so confirm each stage through trial runs.
How to Set and Adjust Injection Speed
Start with a Controlled Speed and Adjust Gradually
Follow the machine manual and material processing guidelines. Start with a controlled setting, observe the filling pattern, and inspect the part.
If appropriate, use short-shot trials to see how the melt moves through the cavity. Increase or reduce the speed in small steps, and record each change. This approach helps you find a stable setting without making unnecessary adjustments.
Adjust Speed Based on Part Defects
If the part has a short shot, check the speed setting along with melt temperature, pressure limits, gate size, and venting.
If you see burn marks, flow marks, or flash, check where the defect appears and when it forms. Adjust the speed where needed, but also inspect mold venting, material temperature, cavity pressure, and clamping force. Change one setting at a time so you can identify the cause.
How to Check if the Injection Speed Is Right
Check for Short Shots and Flow Marks
Short shots may indicate incomplete filling. Flow marks may point to uneven flow or temperature changes. Check the filling profile and material conditions before deciding whether to increase speed.
Check for Flash and Burn Marks
Flash can result from excessive cavity pressure, poor mold fit, or insufficient clamping force. Burn marks can result from trapped air, excessive shear heating, or unsuitable process settings.
Do not assume injection speed alone caused either defect. Check the full molding process before changing the settings.
Check Part Weight and Surface Quality
Compare part weight, dimensions, and surface finish across several cycles. Stable results help show whether the process runs consistently.
For multi-cavity molds, inspect parts from each cavity. Differences in part weight or filling quality may point to runner imbalance or other mold issues.
Frequently Asked Questions
What Is the Difference Between Injection Speed and Injection Pressure?
Injection speed describes how fast the screw moves or how quickly the machine delivers melt. Injection pressure describes the pressure that pushes the plastic through the flow path. The machine may need more pressure to maintain a set speed when the mold creates greater resistance.
Does Higher Injection Speed Always Improve Production?
No. Higher speed can shorten filling time, but it may also cause defects or make the process harder to control. The best setting balances filling time, part quality, and process stability.
Can One Injection Speed Work for All Plastic Materials?
No. Different materials, part designs, and molds have different filling needs. Use the material supplier’s guidelines as a starting point, then adjust the speed through controlled mold trials.