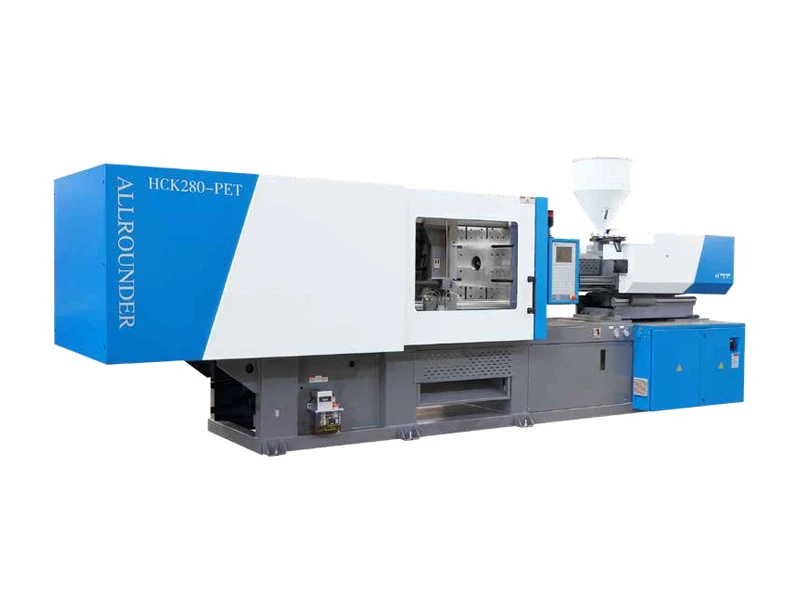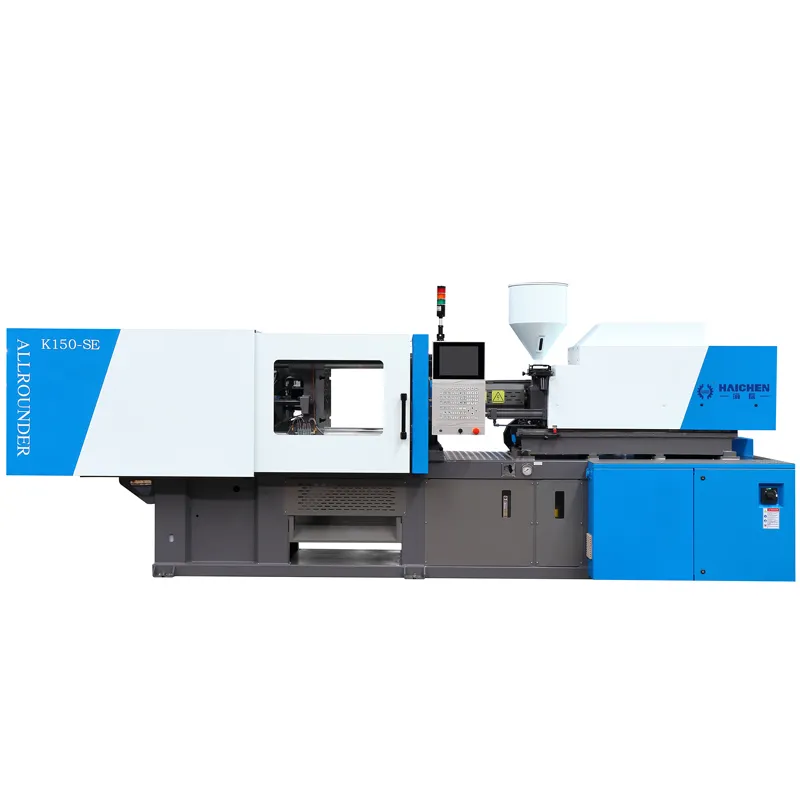
Injection molding cycle time affects production output, product cost, and machine efficiency.
A shorter cycle helps a factory make more parts in less time.
However, cutting cycle time too much can cause defects such as warpage, sink marks, and short shots.
As an injection molding machine manufacturer, we check the product, material, mold, and machine before estimating cycle time.
These factors work together, so no single cycle time fits every product.
What Is Injection Molding Cycle Time?
Injection molding cycle time is the time a machine needs to complete one molding cycle, from the start of mold closing to the point when the machine can begin the next cycle.
A typical cycle includes mold closing, injection, holding, cooling, plasticizing, mold opening, and ejection.
Cycle time differs from machine running time. Cycle time measures one complete cycle, while running time measures how long the machine operates during a production period.
Mold changes, material loading, quality checks, and downtime can reduce actual output.
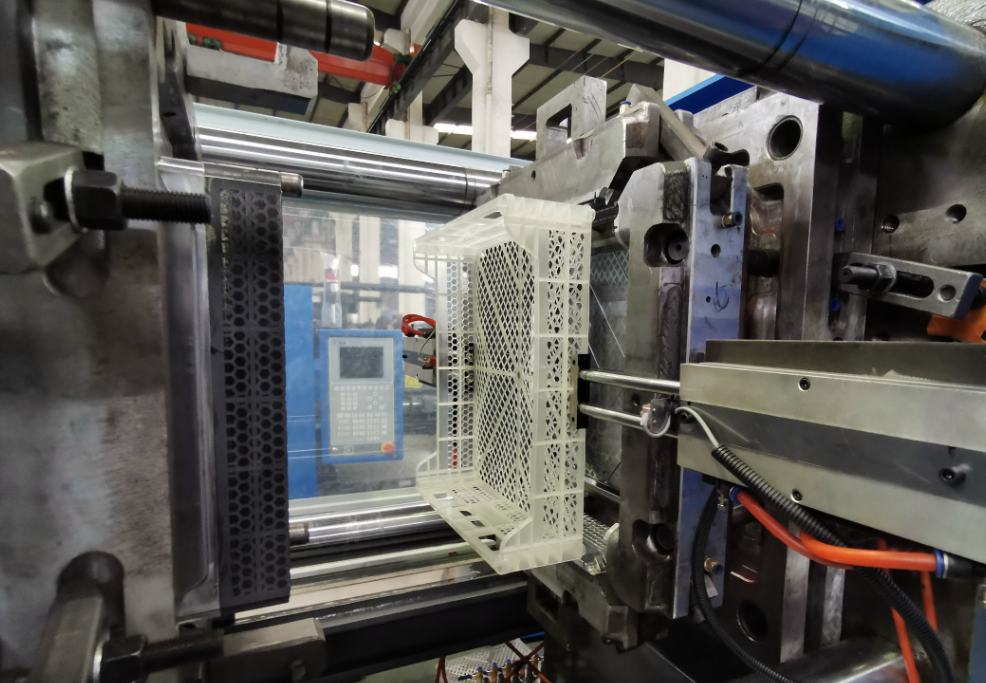
What Are the Main Parts of an Injection Molding Cycle?
Each stage has a specific job:
- Mold closing: The clamping unit closes the mold before injection.
- Injection: The screw pushes molten plastic into the mold cavity.
- Holding and packing: The machine maintains pressure to feed more plastic into the cavity as the material shrinks.
- Cooling: The plastic cools and becomes firm enough for ejection.
- Plasticizing: The screw melts and prepares plastic for the next shot.
- Mold opening: The clamping unit opens the mold.
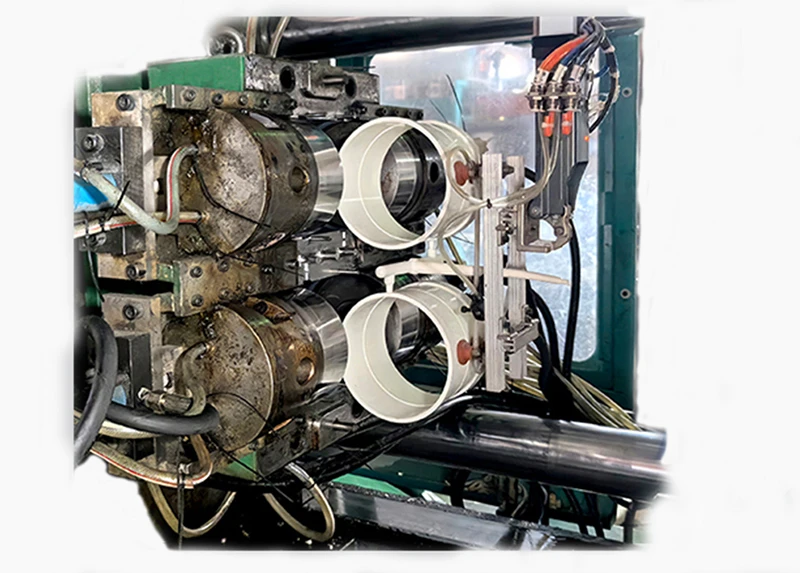
- Ejection: The ejector system pushes the finished parts out.
Some stages overlap. For example, plasticizing often happens during cooling. You must account for this overlap to avoid calculating a cycle that is too long.
How to Calculate Injection Molding Cycle Time
A basic formula is:
Cycle Time = Mold Closing + Injection + Holding + Effective Cooling + Mold Opening + Ejection
Effective cooling means the time that actually controls when the machine can move to the next stage. If plasticizing finishes during cooling, do not add its full time again.
For example, suppose a machine uses these settings:
| Process stage | Time |
|---|---|
| Mold closing | 1.5 seconds |
| Injection | 2 seconds |
| Holding | 4 seconds |
| Cooling | 12 seconds |
| Mold opening | 1.5 seconds |
| Ejection | 1 second |
| Plasticizing | 8 seconds |
If plasticizing finishes during cooling, the total cycle time is:
1.5 + 2 + 4 + 12 + 1.5 + 1 = 22 seconds
The machine does not need another 8 seconds for plasticizing because that stage overlaps with cooling.
Always check the actual machine sequence before confirming the final cycle time.
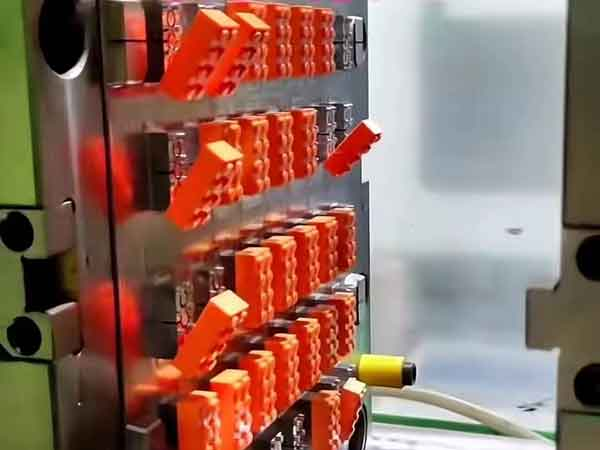
What Factors Affect Injection Molding Cycle Time?
Several factors work together to determine the full cycle:
- Part thickness: Thick areas need more cooling time.
- Plastic material: Different resins have different processing and cooling needs.
- Mold design: Gate location, runner layout, and cooling channels affect filling and cooling.
- Mold temperature: The right temperature supports stable flow and product quality.
- Machine performance: Injection speed, plasticizing capacity, and clamping movement affect cycle time.
- Screw size: The screw must suit the shot size and material.
- Ejection system: A suitable ejector design helps remove parts quickly and safely.
A faster machine cannot solve every cycle-time problem. If poor mold cooling controls the cycle, improving the cooling system may bring greater benefits than changing machine settings.
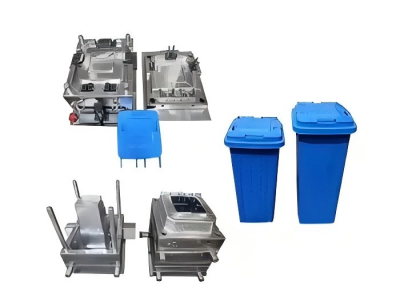
How to Reduce Injection Molding Cycle Time
Start by identifying which stage limits the current cycle. Then make small changes and check product quality.
- Improve mold cooling. Check cooling channel layout, water flow, and temperature control. Better heat removal can shorten cooling time.
- Set the right cooling time. Reduce cooling time gradually and check whether parts keep their shape and dimensions.
- Optimize injection speed. Use a suitable speed to fill the cavity quickly without causing defects.
- Optimize holding time. Check part weight and dimensions before reducing holding time. Too little holding can cause sink marks or shrinkage.
- Improve plasticizing. Check screw speed, screw design, material, and plasticizing capacity if the screw takes too long to prepare the next shot.
- Reduce mold movement time. Use a suitable opening stroke and optimize clamping speed while keeping enough space for ejection.
- Improve ejection. Check ejector pins, draft angles, and mold surfaces if parts stick or take too long to remove.
A shorter cycle is only useful when the machine maintains stable product quality.
How Cycle Time Affects Production Capacity
Cycle time directly affects the number of parts a machine can produce. Mold cavities, machine utilization, and scrap rate also affect actual output.
Parts per Hour = 3,600 ÷ Cycle Time in Seconds × Number of Cavities
For example, a 20-second cycle with a four-cavity mold produces:
3,600 ÷ 20 × 4 = 720 parts per hour
For an 8-hour shift, theoretical output is 5,760 parts.
Actual output will be lower if the machine stops for mold changes, maintenance, or quality checks.
To estimate good parts, use:
Good Parts = Theoretical Output × Machine Utilization × (1 − Scrap Rate)
Use decimals for percentages. For example, 90% utilization equals 0.90.
How We Check Cycle Time for a Customer
When we recommend an injection molding machine, we review the full production requirements:
- Product dimensions, shape, and wall thickness
- Plastic material and part weight
- Number of mold cavities
- Mold dimensions, cooling design, and ejection method
- Machine model, clamping force, injection unit, and plasticizing capacity
- Required hourly or daily output
- Target cycle time
This information helps us check whether the machine and mold can meet the production target. For a more reliable estimate, we may also recommend a test with the actual product and material.
Injection Molding Cycle Time Checklist
Before confirming a cycle time, check the following:
-
Injection time
-
Holding time
-
Effective cooling time
-
Plasticizing time and overlap
-
Mold opening and closing time
-
Ejection time
-
Total cycle time
-
Number of mold cavities
-
Estimated hourly and daily output
-
Machine downtime and scrap rate
-
Product quality after ejection
To calculate injection molding cycle time, check every stage and account for actions that overlap. Do not use cooling time as the full cycle or count plasticizing time twice.
The best cycle time depends on the product, material, mold, and machine. By matching these factors and testing the process, you can improve output while keeping product quality stable.
As an injection molding machine manufacturer, we recommend checking cycle time together with shot size, plasticizing capacity, clamping force, and mold design. This helps you choose a machine that meets your real production needs.