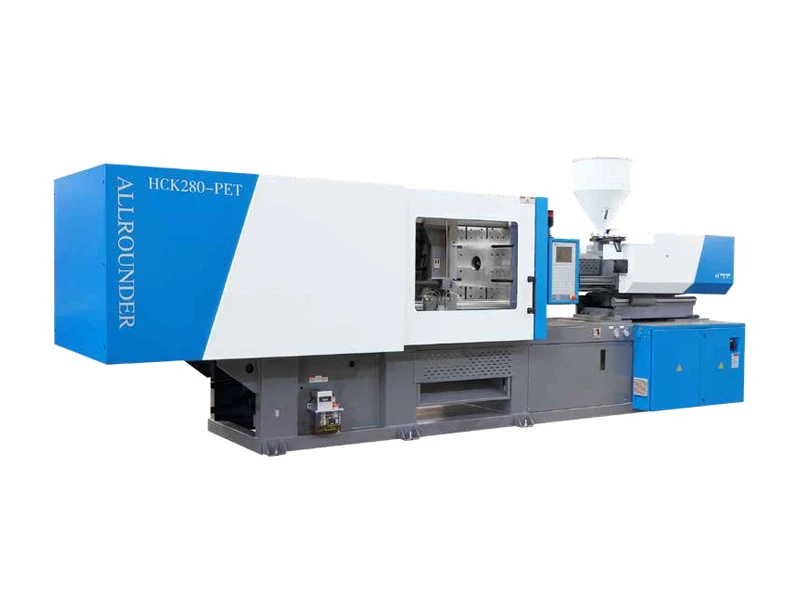
Packaging is an extension of the quality of injection molding machines and also the final test of a manufacturer’s sense of responsibility.
Choosing the right injection molding machine manufacturer starts with checking the export packaging.
Packaging is an extension of product quality and a reflection of the manufacturer. Haichen insists on packaging every machine according to export standards and provides full-process visualization services.
The Injection Molding Machine has been sold, but whether it can be delivered to the customer intact depends entirely on the packaging. Injection molding machines– these precise and bulky machines- travel overseas for dozens of days, enduring salt spray, humidity, and rough seas – all tests.
If the packaging isn’t adequate, and the equipment arrives at the port of destination rusted, damaged, or even shifted, the customer will come knocking, and you’ll be held fully responsible.
- Figure out “how to package” – the differences between different packaging methods
- Injection Molding Machine “Pretreatment” – Emptying, draining liquid, Internal securing of the injection molding machine, and rust prevention
- Container loading and securing: Welding the equipment into the container
- Taking photos as evidence and preparing documents: Don’t let details cause problems during customs clearance.
Figure out “how to package
Injection molding machines come in various tonnages and sizes, and packaging varies accordingly.
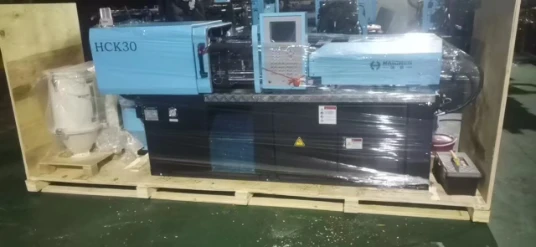
HCK30-HCK100 are small machines, and we recommend full packaging in wooden crates.
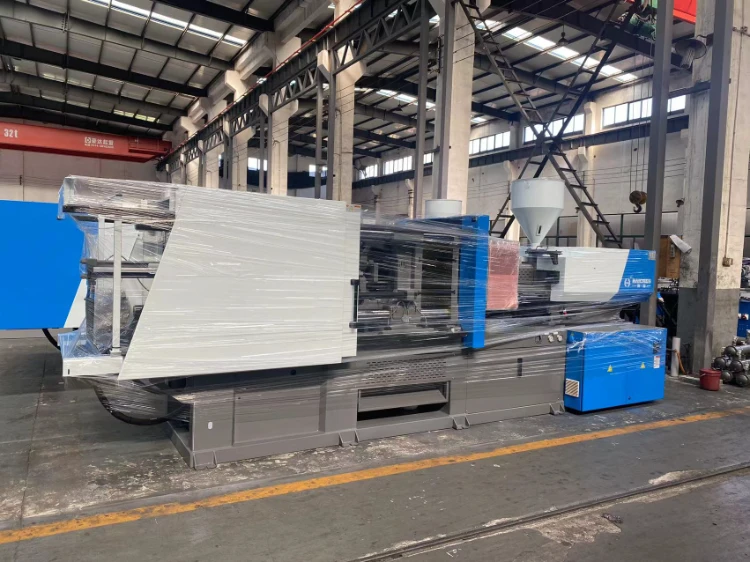
HCK110-HCK530 are medium-sized machines, generally exported as complete units without disassembly.
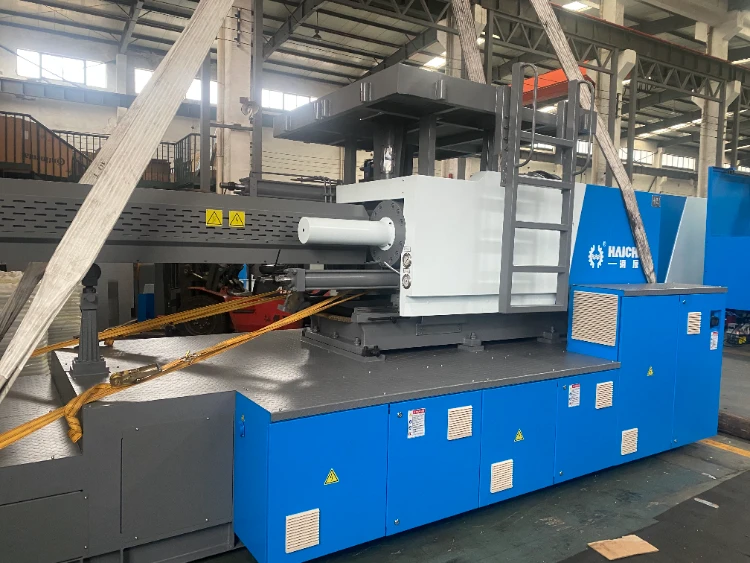
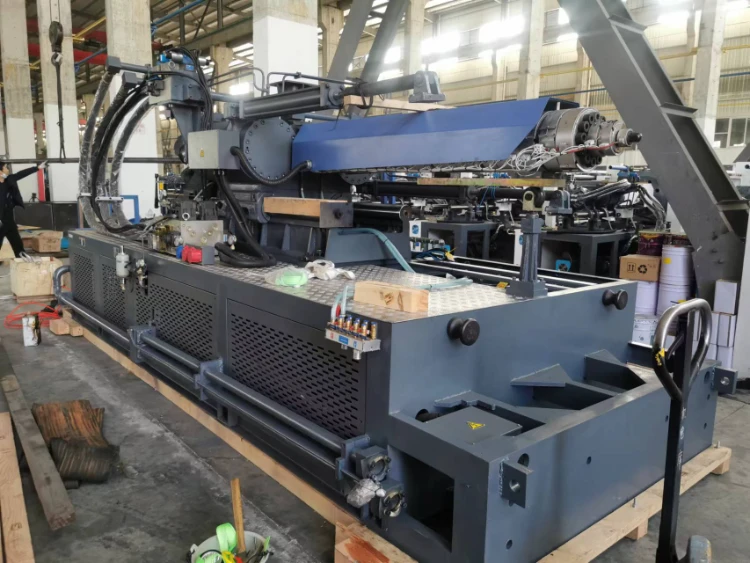
HCK600-HCK800 generally packed with two parts-Injection Unit and Clamping Unut
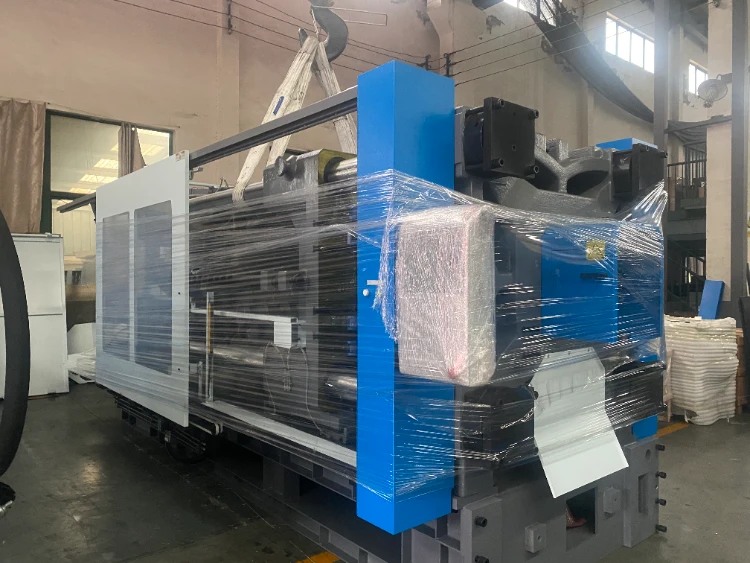
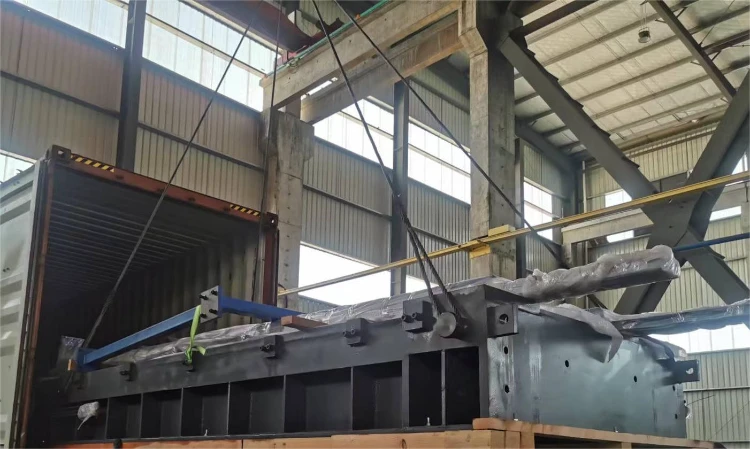
HCK1000 and above are large machines and require further disassembly into more parts to fit into containers.
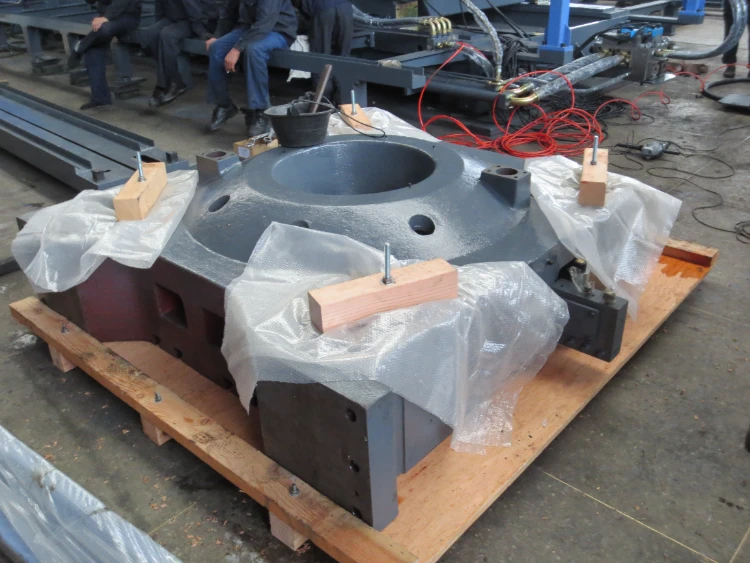
Injection Molding Machine “Pretreatment”
Information verification
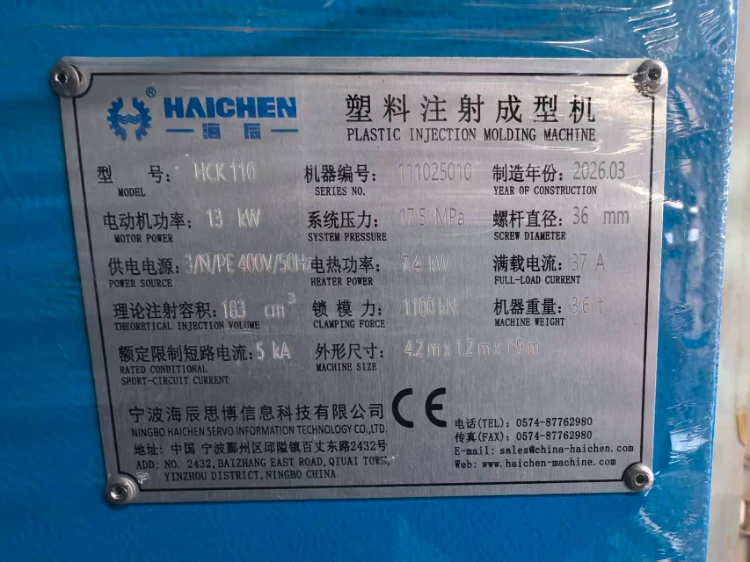
Nameplate Information Verification: Carefully verify the nameplate information (model, serial number, year of manufacture, etc.) on the machine body to ensure that it is completely consistent with the information on the subsequent customs declaration documents. This is crucial for customs clearance.
This is to eliminate the risk of leakage and internal corrosion during transportation at the source.
Evacuating the hydraulic oil
This is not only for weight reduction, but also to proactively comply with international maritime environmental regulations. By draining the oil ourselves, we avoid the possibility of leakage polluting the environment and being fined upon arrival at port.
Draining residual material from the barrel
Close the hopper, drain the residual material from the barrel, and allow it to cool. Depending on the next production step, the barrel may also need to be cleaned.
Drying the cooling water system
Operators must not overlook this crucial step. They must close the cooling water valves and disconnect the inlet and outlet pipes. Then, they can use the cooling water system to prevent internal rusting during the more than one-month sea voyage.
“Internal securing” of the injection molding machine before container loading
Sliding components, protruding parts, and movable elements must all be immobilized—none are permitted to shift.
Injection Unit: Sliding is easy, but securing it requires effort.
Retract the injection unit to its rearmost position and “lock” it firmly at the end of the guide rails using a dedicated stopper block or locking pin.
Hopper: Too tall? Dismantle it!
Ensure the removed hopper is free of residual material, wrap the exterior with stretch film, pack it into the designated wooden crate or cardboard box, and ship it together with the main unit.
Display screen and control panel: Fragile components that must not bear weight.
First, wrap the screen in bubble wrap; then, securely fasten it to the nearest fixed support using cable ties or straps, ensuring it remains completely motionless.
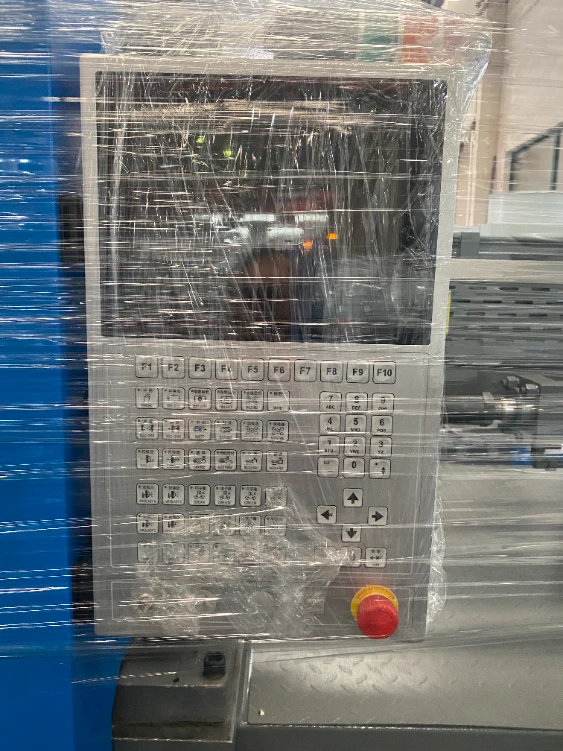
Secure the gate body directly to the frame using cable ties.
Precision rust prevention for critical components
This is the “reassurance” for protecting the core precision of the equipment.
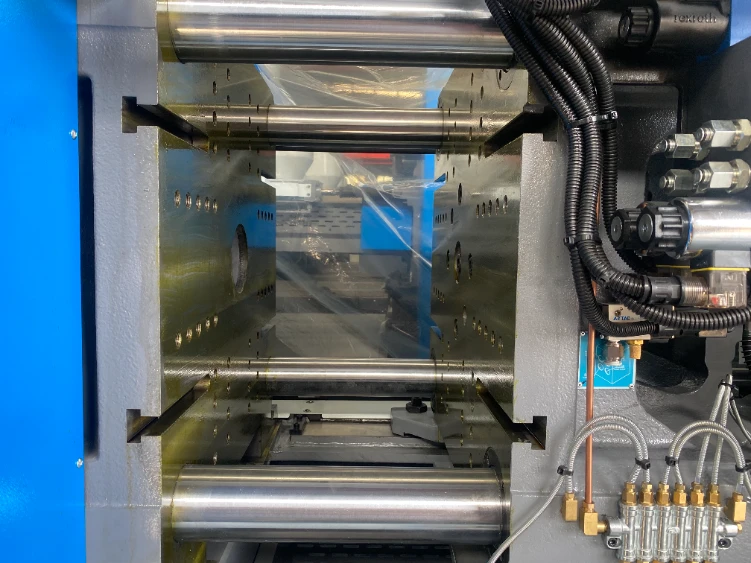
Exposed metal parts: After cleaning, apply rust-preventive oil or special rust inhibitor to exposed precision metal parts (such as column/tie rod, template machined surfaces, slide rails, piston rods, etc.).
Container loading and securing: Welding the equipment into the container
Key points of cabinet entry operation
- Clarify its dimensions and weight
- Start with the lighter items and proceed in order.
- The center of gravity must be centered.
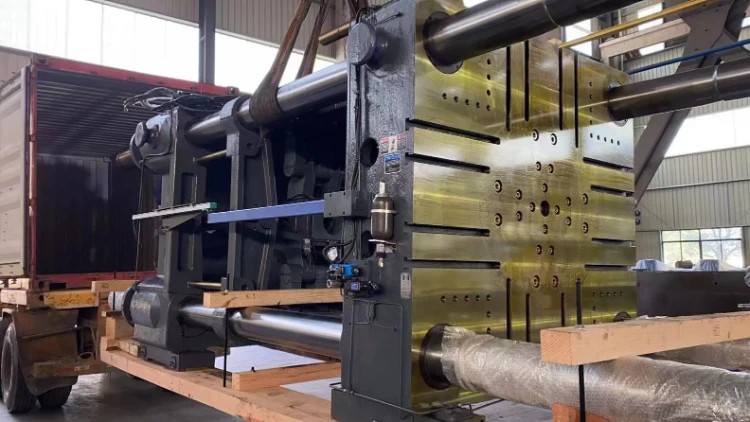
Before loading the equipment into the container, we need to clarify its dimensions and weight. The HCK150 (4.4 tons) and HCK180 (6 tons) are both small to medium-sized machines, and loading the whole machine into the container.
However, workers need to split up the large machines with a capacity of 800 tons or more—they place the molding unit in one container and the injection unit in another, and then load them into separate containers.
Start with the lighter items and proceed in order.
First, push the lighter HCK150 to the back of the container, then use the same method to place the HCK180 towards the outside.
Lighter equipment offers less resistance, is easier to handle, and causes less wear and tear on the container floor; operators place heavier items near the door for easier handling and safety.
Workers must center the center of gravity.
For equipment with a high center of gravity, operators should add a wider support base to lower it, and they must control the lateral weight distribution deviation within 10%. If the center of gravity is off, even a slight rocking motion at sea can cause the container to tip over.
Reinforcement
Securely fastening the equipment is the most crucial step in container loading. If workers do not securely fasten several tons of equipment, it will become just a lump of metal bouncing around inside the container.
A non-slip bottom is fundamental.
Workers seal the gap between the equipment base and the container floor with hardwood wedges or rubber pads to prevent sliding. They secure the base to the equipment with high-strength bolts, not welds, to avoid damaging the equipment itself.
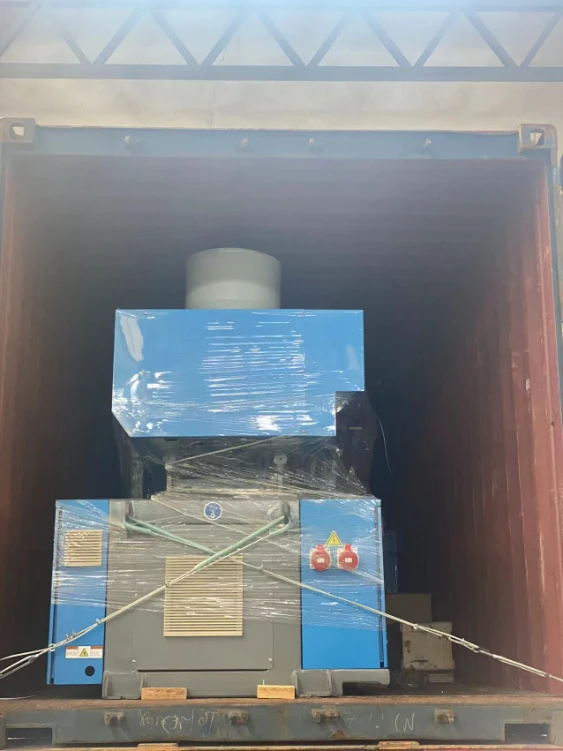
Workers diagonally pull the ropes to the corner fittings at the four corners of the container’s inner wall—the industry calls this a “figure-eight” or crisscross binding.
They use at least two ropes on each side and tighten the turnbuckles until the wrench can no longer turn. They also use tied straps as an auxiliary measure.
Synthetic fiber strapping
(polyester tape) is quick to apply, does not damage paint, and, when tightened with turnbuckles, offers better flexibility than steel wire ropes.
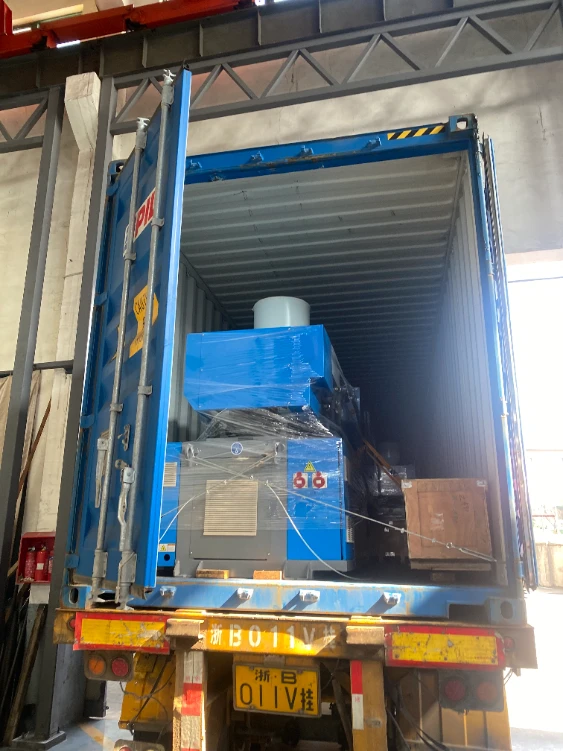
Taking photos as evidence and preparing documents
Don’t let details cause problems during customs clearance.
We will offer the video, related photos, and clearance documents for reference.
Haichen will send the above complete set of documents to the customer in electronic version within 48 hours after loading.
Customers can conduct customs clearance pre-examination before the goods arrive at the port, and pick up the container after ETA, saving time and cost.
Clearance documents as follows:
Packing List
The Packing List is necessary for customs clearance and lists the size and weight of each box/piece of goods.
Loading Photos
Before unpacking at the port to determine whether there is any damage during transportation
Shipping Report
Records loading date, container number, seal number, ship name, and voyage
Packing list (Content List)
Details the parts contained in each wooden box to facilitate unpacking and inventory.
Fixed point diagram marks the machine’s lifting points and fixed point locations to guide unloading operations.
Haichen’s packaging standards are based on those of the International Electrotechnical Commission (IEC) and shipping packaging regulations. Customers receive not just machines, but a complete transportation protection solution.