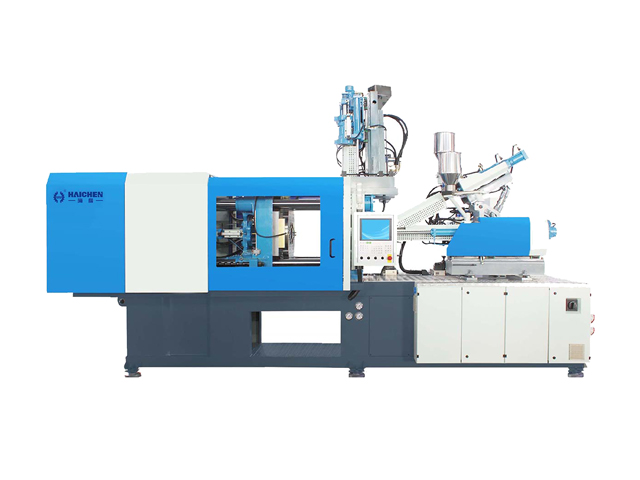
Making plastic with both molds with Plastic bucket injection molding to melting, injection ,cooling ,ejection and repeat. First, the machine melts plastic pellets (usually PP or HDPE) inside the barrel, then injects the melt into each mold cavity under high pressure. After a short cooling time, the mold opens. A stripper plate or ejector pins push the solidified bucket out. For the lid, sliders or collapsible cores help release the sealing lip.
Once out, workers or a robot trim the sprue and stack the finished parts. A chiller keeps the mold cool to shorten cycle time, and an auto loader feeds pellets continuously. The whole process repeats every 20 to 60 seconds, depending on bucket size. With proper mold design and machine settings, you get strong, warp‑free buckets and snug‑fitting lids – ready for household use.
A plastic water bucket may look simple, but making it right involves careful thinking about the mold, the machine, and the entire production line. We are Haichen, a Plastic bucket injection molding machine manufacturer based in Ningbo, China – the country’s injection molding hub. For over 20 years, we have helped customers worldwide produce buckets and lids. Below we share our hands‑on knowledge on mold design, machine sizing, and line automation. This guide should save you time and trouble.
- Mold Design for Plastic Water Buckets and Lids – Each Has Its Own Priorities
- How to Match an Injection Molding Machine to Your Bucket Dimensions
- How We Boost Automation on a Real Production Line
Mold Design for Plastic Water Buckets and Lids – Each Has Its Own Priorities
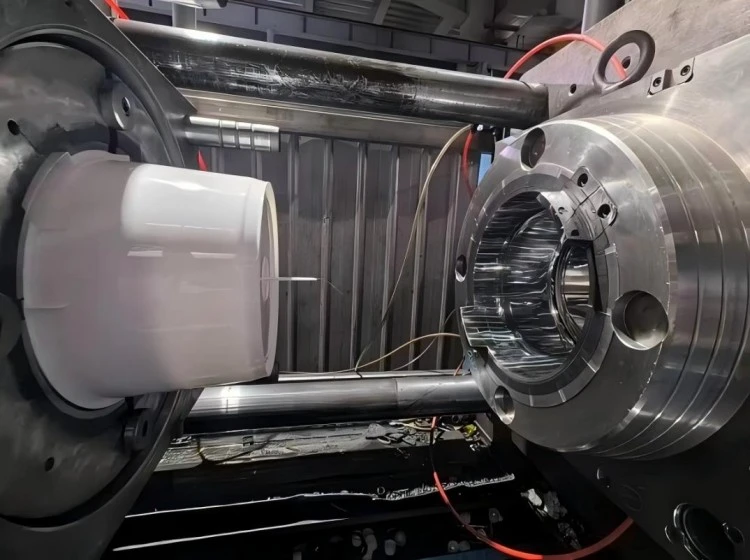
- Body and Lid Require Two Separate Molds
- Bucket Surface: Smooth, Textured, or Reinforced Rim
- Ejection for Deep Buckets – Stripper Plate is the Most Reliable
- Lid Mold: Sealing Lip and Undercut
Body and Lid Require Two Separate Molds
A bucket and its lid almost never share the same mold. The body mold shapes a deep container with a wide opening. The lid mold creates a thinner part, often with sealing features. The two tools differ in gate location, cooling layout, and ejection method.When selecting a model for a plastic bucket injection molding machine, we must match it to the larger mold, which is the bucket body itself.
Bucket Surface: Smooth, Textured, or Reinforced Rim
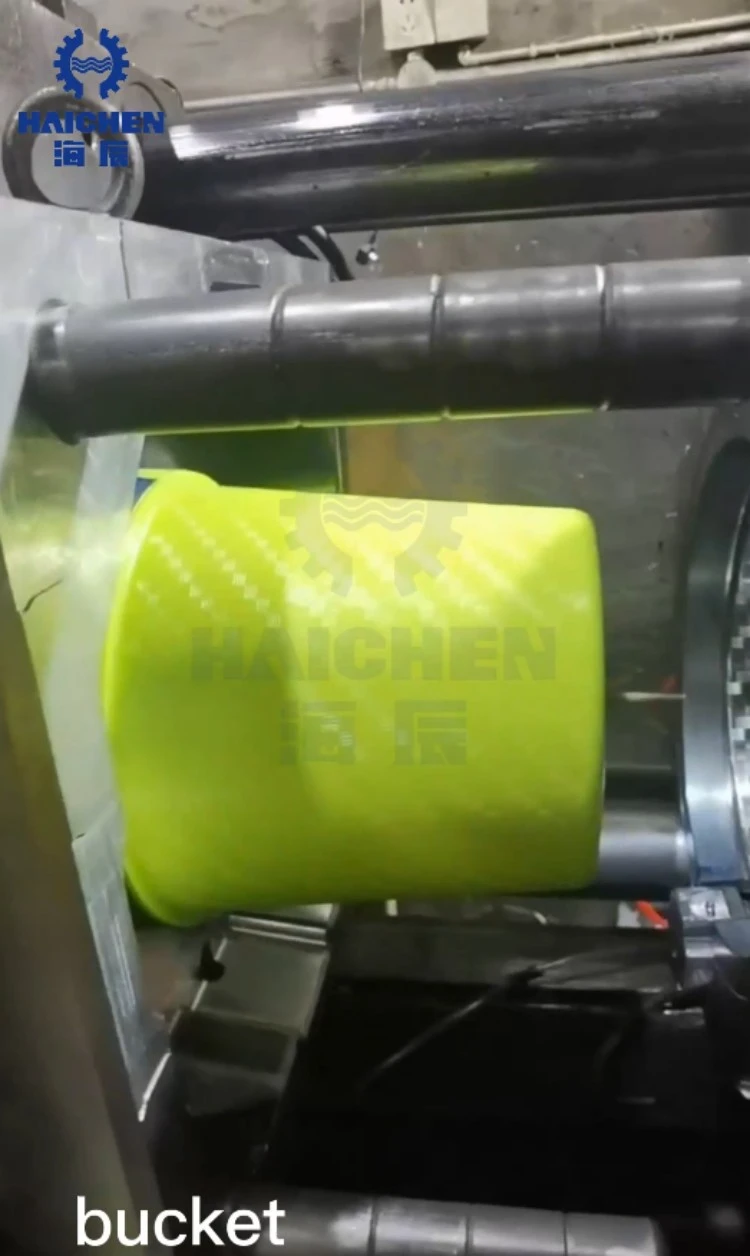
Different customers want different surfaces. Some need a glossy, smooth look for easy label application. Others prefer a diamond or wave pattern to improve grip and hide scratches. Many buckets also include a reinforced ring near the top edge for extra strength.
-
Smooth surfaces require a highly polished cavity.
-
Textured patterns usually need slider cores to form the details.
-
Reinforced rings work best with a stripper plate ejection – even force around the rim keeps the top round and true.
Ejection for Deep Buckets – Stripper Plate is the Most Reliable
Deep buckets tend to stick to the core. Ordinary ejector pins often leave marks or even punch through the bottom. We strongly recommend a stripper plate for most bucket molds. It contacts the entire rim of the bucket, pushing it off the core evenly. This keeps the shape stable and leaves no pin marks on visible surfaces.
Lid Mold: Sealing Lip and Undercut
A lid needs to snap onto the bucket and also come off without breaking. This requires a sealing lip design, often with a small undercut. To form that undercut, the lid mold typically uses sliders or collapsible cores. Also, lids are usually thin – so you need good venting and a balanced runner to avoid short shots or warpage.
How to Match an Injection Molding Machine to Your Bucket Dimensions
- Tie-Bar Spacing Must Fit the Mold
- Opening Stroke – The Most Critical Rule for Buckets
- Tonnage Guide: HCK310 to HCK800 for Different Bucket Sizes
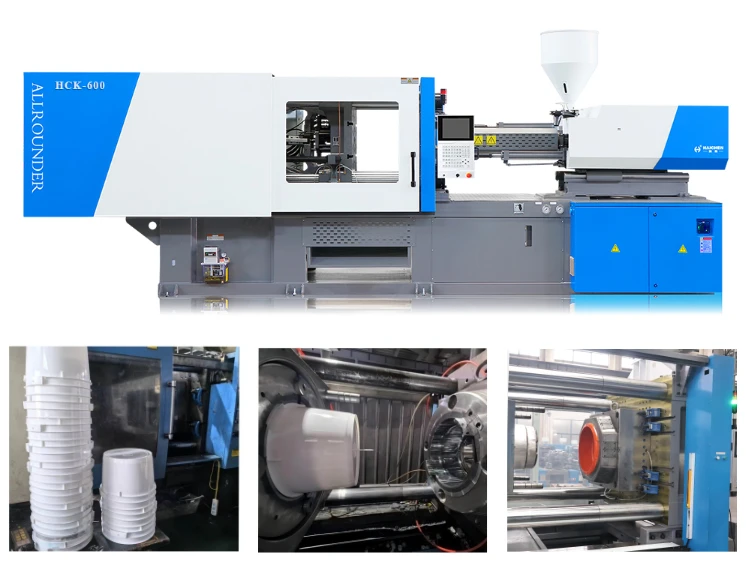
| Parameter | Unit | HCK-360 | HCK-410 | HCK-460 | HCK-530 | HCK-600 | HCK-700 |
|---|---|---|---|---|---|---|---|
| Screw diameter | mm | 65 / 70 / 75 | 80 / 85 | 80 / 85 / 90 | 90 / 95 / 100 | 100 / 105 | 110 |
| Theoretical shot volume | cm³ | 1161–1546 | 1443–1885 | 1833–2355 | 2187–2767 | 2554–3190 | 3534 |
| Shot weight (PS) | g | 1075–1407 | 1313–1715 | 1668–2143 | 1960–2518 | 2324–2903 | 3216 |
| Clamping force | kN | 3800 | 4100 | 4700 | 6200 | 8700 | 9700 |
| Space between tie bars | mm | 720×670 | 770×720 | 820×770 | 870×820 | 870×820 | 870×820 |
| Opening stroke | mm | 680 | 780 | 810 | 850 | 900 | 960 |
| Min. mold height | mm | 270 | 280 | 300 | 320 | 400 | 400 |
| Max. mold height | mm | 720 | 800 | 830 | 870 | 920 | 970 |
| Ejector stroke | mm | 170 | 220 | 220 | 220 | 230 | 250 |
| Pump motor power | kW | 42 | 48 | 54 | 50 | 38+38 | 38+42 |
| Machine weight | t | 13 | 15 | 18 | 22 | 27 | 33 |
Tie-Bar Spacing Must Fit the Mold
The first check: can your bucket mold fit between the machine‘s tie-bars? Bucket molds, especially those with sliders or a stripper plate, can be surprisingly wide. Many buyers only look at clamping force and forget the mold dimensions. Our HCK series offers wide platens and generous tie-bar spacing. But if you use another brand, always measure the tie-bar distance before ordering.
Opening Stroke – The Most Critical Rule for Buckets
Here’s the rule that new bucket makers often miss: The injection molding machine‘s opening stroke must be at least twice the bucket height. Why? A deep cavity needs room for the core to clear the part, plus space for a robot or an operator to grab the bucket.
Example: A bucket 350 mm tall requires a minimum stroke of 750 mm. Our HCK410 delivers that easily. If you choose a machine with only 1.5 times the height, you will struggle to remove the part – especially if you later add a robot.
Tonnage Guide: HCK310 to HCK800 for Different Bucket Sizes
| Model | Bucket Size / Capacity | Typical Opening Stroke |
|---|---|---|
| HCK310 | Small pails (5–10 L), lids | 600–700 mm |
| HCK410 | Medium buckets (15–25 L, height 300–400 mm) | 750–850 mm |
| HCK530 / HCK650 | Large buckets (30–50 L), reinforced rim or texture | 900–1100 mm |
| HCK800 | Extra‑large buckets (100 L+), thick‑wall | 1200–1400 mm |
We keep a database of over 50 bucket mold matches. This helps us give a quick, accurate tonnage recommendation – no waste, no guesswork.
How We Boost Automation on a Real Production Line
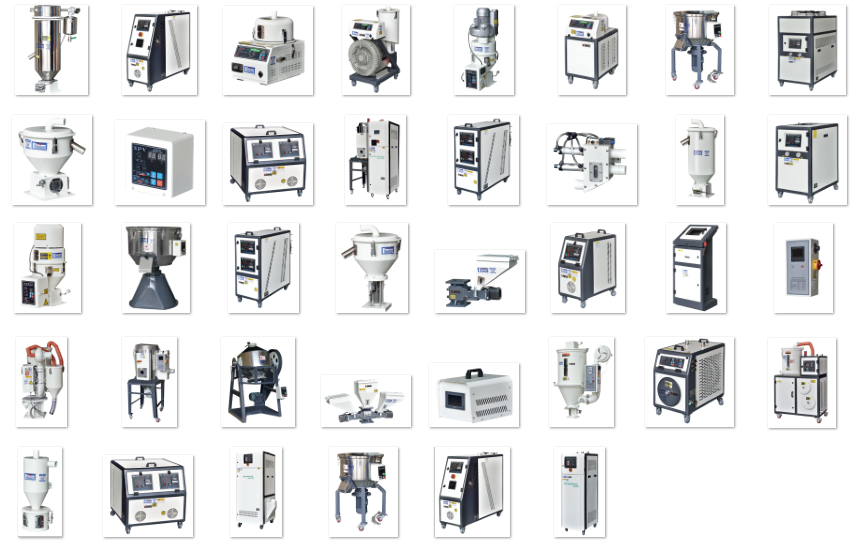
- Chiller: Cut Cycle Time, Especially in Summer
- Auto Loader: Stop Wasting Labor on Material Feeding
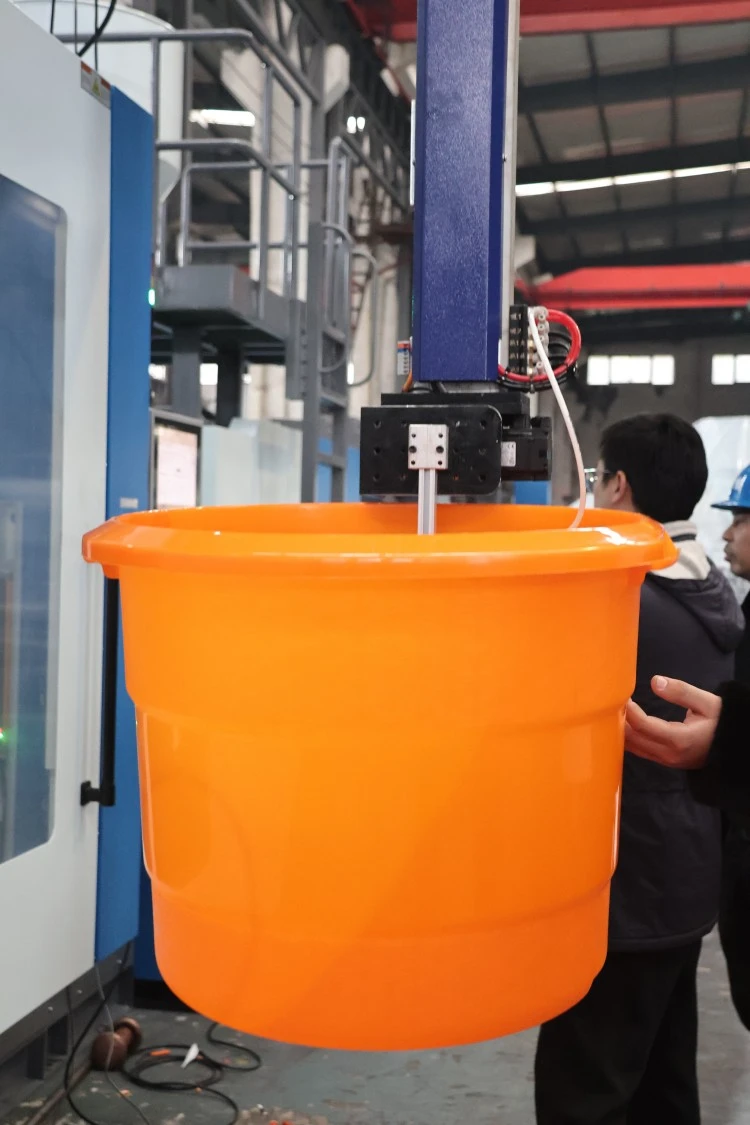
- Robot: Pick, Trim Sprue, and Stack Automatically
Chiller: Cut Cycle Time, Especially in Summer
Buckets have uneven wall thickness – thicker at the bottom and rim, thinner in the middle. Cooling often becomes the bottleneck. Adding a water chiller (set to 10–20 °C) can reduce cooling time by 20–30 %. In hot summer months, without a chiller, the mold loses heat slowly, and the machine sits idle waiting. A chiller usually pays for itself within half a year through higher output.
Auto Loader: Stop Wasting Labor on Material Feeding
A bucket production line consumes plastic pellets quickly – one 25 kg bag every one or two hours. Manual feeding is dirty, tiring, and risks running the machine empty. An automatic loader fills the hopper whenever it runs low. The operator only needs to check it occasionally. It‘s a low‑cost add‑on that saves real labor.
Robot: Pick, Trim Sprue, and Stack Automatically
The most labor‑intensive jobs are taking the bucket out of the mold, cutting the sprue (runner), and stacking the finished parts. A 3‑axis servo robot can handle all three. When the mold opens, the robot reaches in, grips the bucket, trims the sprue, places it on a conveyor, and then stacks it. Our HCK series includes a CE12 open interface – a standard signal protocol that works with most industrial robot brands. No rewiring needed. Several customers already run fully unattended night shifts using this setup.
Common Questions and Your Comments
If you produce plastic water buckets or lids, we’d love to hear your experience. Leave a comment below.
Q1: Can we use the same machine for both bucket body and lid?
Yes, as long as the clamping force and shot size are enough. Many of our customers run bucket bodies during the day and switch to lid molds at night – just change the tool and adjust the parameters.
Q2: Our deep bucket often gets stuck. Will adding more ejector pins help?
No. In 99% of cases, the problem is insufficient opening stroke, not ejector pins. Measure your machine‘s stroke and compare it to twice the bucket height.
Q3: What special features do we need for a textured bucket?
It depends on the depth and location of the texture. Shallow texture can be etched directly on the cavity. Deep or side‑wall texture usually requires hydraulic core pull or sliders. In that case, your machine needs extra oil‑circuit interfaces for those actions.
Q4: The bucket lid always warps. How do we fix it?
Warpage usually comes from uneven wall thickness or unbalanced cooling. First, check that your mold’s cooling channels are clean and flowing. Then adjust holding pressure and time. If the problem persists, consider adding reinforcing ribs on the underside of the lid.
We welcome your comments below. Or contact us directly for a detailed machine recommendation based on your bucket size and target output.
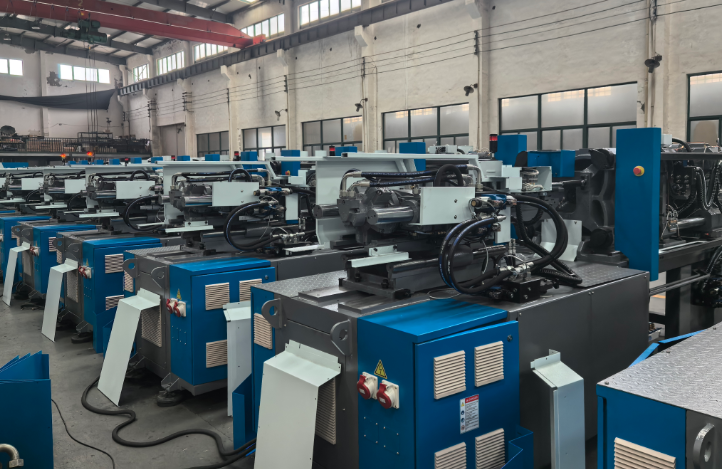
Haichen Plastic bucket injection molding machine – Based in Ningbo, focused on efficient injection molding solutions for buckets, crates, and containers for over 20 years.